Since
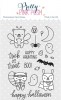
Halloween is just a few days away, I made another Peekaboo Shaker using these
little critters and images from the Halloween Friends from Pretty Pink Posh along
with the same tags from my previous post.
I love to
mail out cards with little surprises so this works perfect! Also, I used
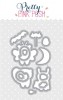
the Coordinating die to
help me cut these little images making it fast.

As you can tell, I've been having fun
with some distress ink and a stencil again to create the background. Here I
used Chipped Sapphire, Dusty Concord
First add the ink onto the stencil,
spritz it with water, and apply the stencil directly to an A2 size water color
panel. Repeated the process for each color and know that each time you
will get a different result.
You can click here to see previous post on another card I made using this technique if you want.
You can click here to see previous post on another card I made using this technique if you want.

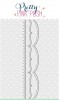
Enjoying these little tags from
the Stitched
Essentials 1 and how I can cut all three tags at once.
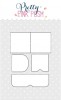
Plus the new Peekaboo Windows work
perfect with them.
Again, these are fast and easy to
make. More details on how I
assembled the tags can be found on my previous post.
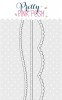
For the black hills, I used the Scallop Borders and
die cut two pieces to overlap them together.

For this
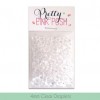
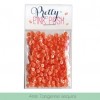
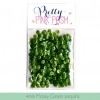
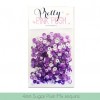
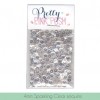
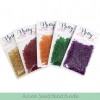
card, I used several sequin colors starting with 4mm Tangerine, 4mm Sugar Plum Mix, 4mm Mossy Green, and a touch of 4mm Sparkling clear
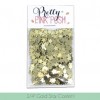
Also, I added some 4mm clear droplets as I love the
way they look against this background. Hope you enjoyed and give them a try.
SUPPLIES: