Showing posts with label Easter. Show all posts

Sunday, April 1, 2018

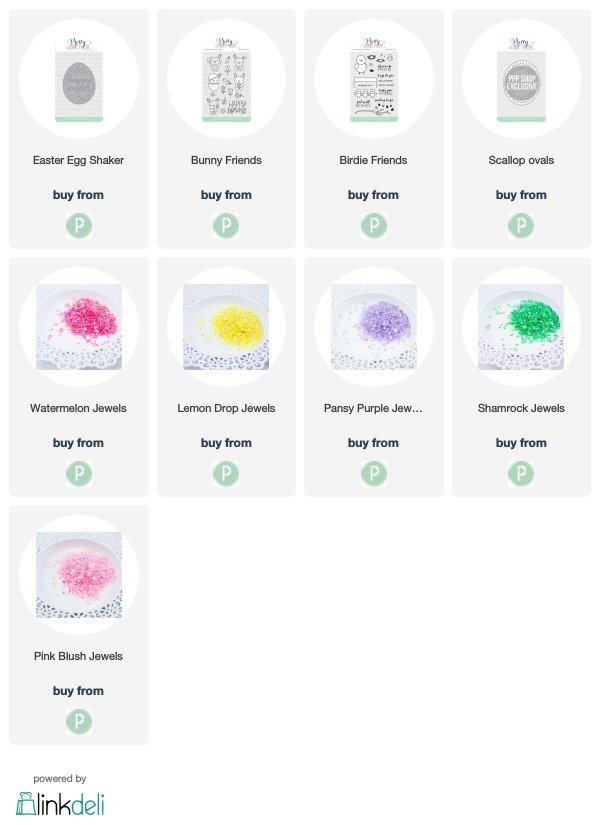
Happy Easter Shaped Card

Wishing everyone a Happy Easter today. I've been having some fun playing with this Happy Easter Shaker die from Pretty Pink Posh and decided to try and create an Easter Egg shaped card to sit upright since this die has so many beautiful details. 

Very easy to make and even the kids could have fun doing one. Also, joining over at Simon Says Stamp Wednesday Challenge of Anything Goes   

For this card, I started off by die cutting the Happy Easter Shaker die and put it aside while I created a background using alcohol inks.

Next, I die cut the alcohol inked background using an Oval basic shape that fit perfectly behind the Happy Easter Shaker.


From there, I grabbed the next size up from my Oval shape dies to placed on top of an A2 size card and ran it through the die cutting machine.

Next, I scored the front top panel of the oval card at 2" and used a bone folder to make sure it was flat. From there, I die cut a single Oval shape using the same size using teal card stock and glued it down to the bottom half only. 

For the inside of the card, I decided to decorate by adding a Scallop Oval Die as I love the inverted scallops and it fit perfectly over the Oval Shape. 

From there, I couldn't resist but to use this new Bunny Friends stamp set again so I stamped one of the bunnies in the center and colored using my copic markers.
Here is one more Easter Egg shaped card using pink colored card stock, but I ended up using the the Scallop Oval Die on the top of this card as I love the stitching around the oval.

For this card, I created the alcohol background using blue colors.  

Again, I stamped one bunny using the Bunny Friends in the center and colored using my copic markers. 


For the sentiment on both cards, I pulled out Birdie Friends and stamped the banner sign to add a word. Later, I cut off the legs from the banner to have just the rectangle frame. Added foam mount to pop it up as this is what helps to hold the card upright so one can place anywhere.  

Had lots of fun adding several colored jewels:  WatermelonPansy PurpleLemon Drop, Pink Blush and Shamrock for the leaves. 


 SUPPLIES: 

Wednesday, March 28, 2018

Happy Easter

Since Easter is around the corner, I thought I would make an Easter card using this cute Bunny Friends sets from Pretty Pink PoshAlso, joining over at Simon Says Stamp Wednesday Challenge of Anything Goes   

For this card, I wanted to challenge myself a bit by trying to create a one layer card, but at the same time, I keep thinking maybe a shaker and in the end, this is the result. 

I started off by using my copic markers to create the background scene along with adding some grass at the bottom. I thought to myself it's a good way to practice flicking upwards. 

From there, I added these cute little bunnies along with using the Coordinating die to cut them out perfectly. At first I was going to placed them flat onto the scene, but later changed my mind and added some foam mount to pop them up a little.

From there, I added the sentiment by using the new Happy Easter Script die for the word "Easter" and ended up die cutting it three times to glue them together to add some dimension. Next, I used the Fox Friends set for the word "Happy" along with some white embossing powder. 

I couldn't resist but to add these adorable Bee Friends to the scene and let me say, the Coordinating die for this set was beyond helpful.

Last but not least, I added some new jewel using Watermelon for the yellow and pink bunnies, Shamrock for the blue bunny in the middle, and Lemon Drop, for the background. In the end, I added a Scallop Frame which I also die cut three times and glued together for dimension.

SUPPLIES:

Saturday, March 17, 2018

Pretty Pink Posh Easter Theme Week


Here is a sneak peek at my card today using these adorable Bunny Friends stamp set plus more so come and join me on the Pretty Pink Posh Blog today as we celebrate Easter Theme Week. 

More photos and details on how I made this card can be seen by clicking here to go straight to the post. 

Lots more inspiration coming all week long on the Pretty Pink Posh Blog showcasing Easter Theme inspiration that you don't want to miss!


Tuesday, March 13, 2018

Flower Petal with Bunny Friends

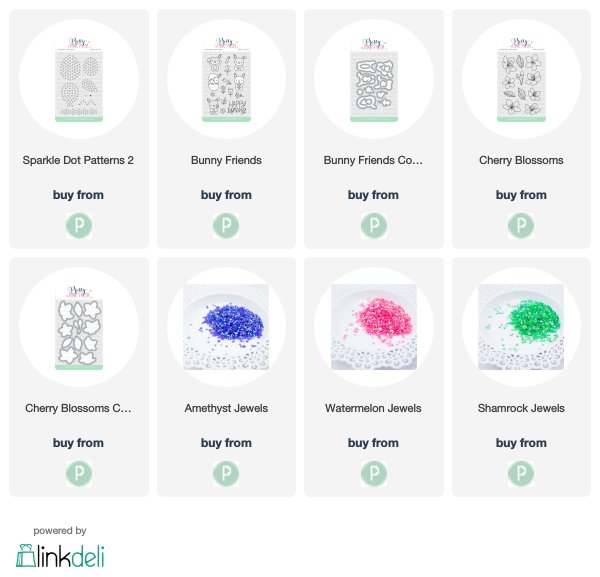
This card was so much fun to create using the new Sparkle Dot Patterns 2 set from Pretty Pink Posh and using the new jewels that I made a flower petal using one of the dot images from the set.

To start, I cut an A2 size card base and penciled in two lines, both horizontal and vertical using the middle as a guide. Since I was playing with the image, I decided to stamp and cut the image out 6 times using black ink, again, I was playing and used them as a template of what I wanted to make. In the end, the lines became my guide.

To help me more, I ended up added a pencil circle in the center which is approx 1/2" above the center line. From there, I arranged the two top petal against the vertical line at the top and than added petals next to the other ones until I was happy with it. 

Next, I removed one petal and stamped using a light grey ink (fog-SSS) and repeated the process until the full petal was complete with light fog ink. Since I wanted some clouds in the background, I added them before adding the jewels. 

Afterwards, I cut a thin strip of green card stock to create a steam and thought why not use the new Cherry Blossoms set for the leaves which I colored using my copic markers along with the Coordinating die to cut them out.

I couldn't resist but to use this new Bunny Friends stamp set again since as it's so cute so I placed one of the images in the center by using thin foam mount tape.
The Coordinating die was so handy to help me cut the image out perfectly. 

Last but not least, I used these fabulous new jewels in WatermelonAmethyst, and Shamrock for the leaves at the bottom. 

SUPPLIES:

Friday, March 9, 2018

Pretty Pink Posh New Release Day 2

Welcome to Day 2 of the blog hop showcasing Pretty Pink Posh's new release with tons of fun and inspiration. Plus prizes to be won along the way. 

You should have arrived from Pretty Pink Posh's Blog, but if you get lost, no worries, there is a complete line up list below so you can stay on track during the blog hop. 
I'm beyond thrilled to share these two cards with you today, so let's get started. 

I'm so excited with the new release and the addition of new jewels in so many colors that I couldn't resist but to use on each card. Here I started with this amazing 
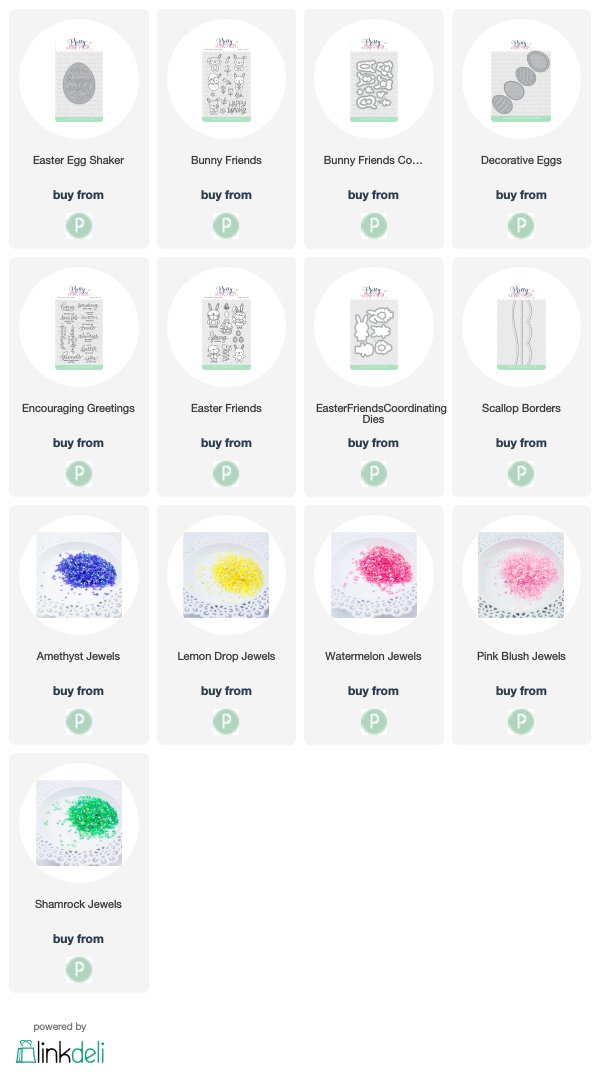
Happy Easter Shaker die as it has so many beautiful details so I kept it clean and simple.

For this card, I started by first adding some grass at the bottom using ink and blending the color in. Next, I placed the Happy Easter Shaker die in the center of the card to die cut the easter egg. 

I put the easter egg aside while I created a background using alcohol inks which I than adhered to the opening. From there, I placed and glued down the easter egg back into the opening.

Now comes the fun part of adding several new jewel WatermelonAmethystLemon DropShamrock, and Pink Blush around the entire egg. So much fun!! Afterwards, I used my B000 copic marker along with colorless blender to go around the egg to add a shadow around it. 

Couldn't resist but to use this new Bunny Friends stamp set as it's so adorable and thought it would be perfect to add to this card. Also used the Coordinating die to help me cut the image out as well as adding a few little easter eggs from the Easter Friends set to finish this card.  

Moving onto the second card for the day....
Again, I couldn't resist but to use this new Bunny Friends stamp set as it's so adorable and has a variety of cute flowers to color in and create scenes. For this card, I started off by creating some grass using the Scallop Border to die cut two strips.  

Next, I grabbed these fabulous new Decorative Eggs as it comes with different designs to play with. Therefore, I created another alcohol background and used the solid egg die from the set to cut two of them. Next, I added the decorative dies on top to complete the eggs. 

As I mentioned before, I'm in love with the new addition of all of the jewels, so on this card, I decided to add Pink Blush around both eggs.  Added foam mount tape under the bunny in the middle and underneath the top row of the grass in front to add a little more dimension. 

For the sentiment, I used the new Encouraging Greetings as I thought it would be perfect with all of these bunnies and love the saying of Friends makes everything better.
  
Let's continue celebrating with your next stop with the talented Heather Hoffman  

GIVEAWAY! During this blog hop, there will be (4) $25 Gift Certificates to Pretty Pink Posh up for grabs every day (2) $25 Gift Certificates on each day

Winners will be picked randomly along the blog hop (comments must be left by 11:59pm PDT on 3/12/2018), and will be announced on the Pretty Pink Posh Blog

SUPPLIES:

Monday, March 13, 2017

Easter is Coming!

Previously, I colored several images from the new Pretty Pink Posh release using my copic markers and before you know it, another fun shaker card was done.

This Easter Friends set is so much fun with the adorable little kids all dressed up that I got into the Easter mode. Love how this little guy is all dressed up in his cute bunny costume and to cut out everything perfectly, I used the Coordinating die as it's a perfect match. 

In playing around, I thought to use the new Scallop Square Tags as I'm loving the shape, size, and amazing detailed stitching. Here, I'm using the bigger square tag. 

Since, I wanted to make this into a card, I pulled out my polka dot stencil to use for a background along with a light shade of blue from Simon Says Stamp called Surf Blue. Than, I added it to my pink base card stock. 
 
I must say, the new Friendship sequin mix is absolutely gorgeous in person with the different shades of pinks, not to mention, they are iridescent and sparkle like no other. Plus, it contains two different sizes, both 4mm and 6mm. 

To add a little bow on top of this shaker, I thought what better way but to use the Twine and Bow die from Pretty Pink Posh as it's perfect finishing touch. Added a little flower in the center of the bow using the Spring Flower Mix