Showing posts with label Simon Says Challenge. Show all posts

Sunday, July 22, 2018

School Friends and Playful Puppies

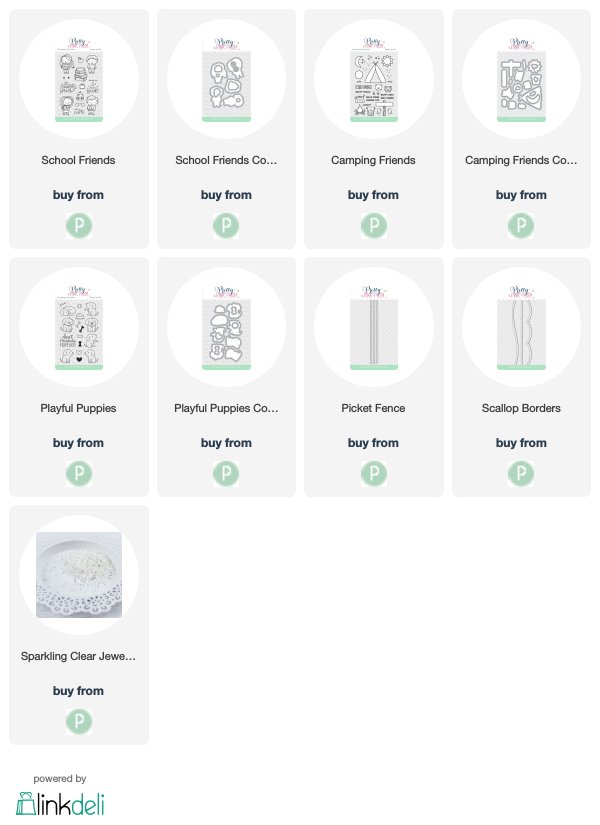
I had lots of fun coloring these new School Friends set from Pretty Pink Posh and thought why not combine it with these adorable Playful Puppies which I previously colored. Also, joining this week's challenge over at Simon Says Stamp Wednesday Challenge of Using a Die and or Punch. 

To get this card started, I created the background first using an ink blending tool along with Salty Ocean Distress Oxide ink and than went on to create some grass by inking up white card stock using Mowed Lawn Distress ink. Afterwards, I decided to create a texture to the grass so I used a small cloth, added a little water to it, and than daubed the card stock until I liked it. 

Next, I used the Scallop Borders to die cut the grass and overlap them together to create a hill look, but before adding it to the card, I used the Picket Fence die to add to the scene in the middle. 

For this card, I used the Coordinating die for the puppies and balls along with the Coordinating die for the little School Friends along with some foam mount tape to pop up the little girl and puppy in the middle.

Added a little sun using the Camping Friends set which I also colored using my copic markers: Y17, Y15, Y13 along with the Coordinating Die to help me cut it out fast. By the way, this stamp set is on sale today over at the Pretty Pink Posh Shop

To finish this card, I stamped this cute sentiment from the School Friends set and added several Sparkling Clear jewels along the top and sky.

SUPPLIES:
Monday, April 2, 2018

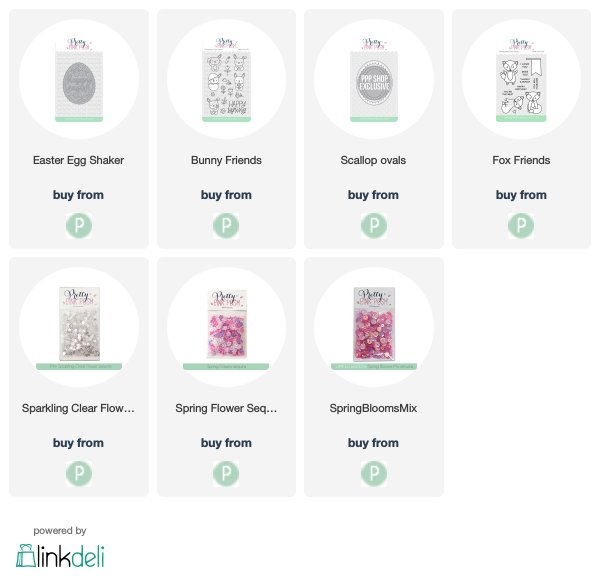
Happy Birthday using Easter Shaker Die

I'm back again today and since I was having fun with this Happy Easter Shaker die from Pretty Pink Posh I thought why not use it for a Birthday card as I wanted to make a special card for one of my sweet friends on IG who is celebrating their birthday. May all your wishes come true Michelle!! 

Also, joining one more time with the Simon Says Stamp Wednesday Challenge of Anything Goes. Here you go

I really love this Happy Easter Shaker die so I thought by cutting out the word Easter, I could turn it into a Happy Birthday card and use the beautiful elements of the die. So after I cropped the word out, I colored the flowers, leaves, and the "HAPPY" using my copic markers. 

For the word "Birthday", I used the Fox Friends set and stamped it down using black ink against the white. 

To make this into a shaker, I ended up die cutting the Happy Easter Shaker die again using white fun foam to act as the middle sandwich and than used an oval shaped die to cover the shaker.

To fill up this shaker, I used: Spring Blooms Sequins Mix as it has an assortment of pinks, purples, and iridescent sequins. Also, added several Mini Sparkling Clear Flowers and a couple of flowers from the Spring Flower Sequins Mix 

As you can see, the oval shape die fits perfect behind this Happy Easter Shaker die 

For the inside of the card, I decorated it by using the Scallop Oval Die along with using the new Bunny Friends stamp set as this little guy screams "fun, sending hugs, celebration, and more" to me. 

For the sentiment on the inside of the card, I pulled out Birdie Friends and stamped the banner sign. Later, I cut off the legs from the banner to have just the rectangle frame. Added foam mount to pop it up as this is what helps to hold the card upright so one can place anywhere.  

SUPPLIES:

Monday, March 12, 2018

Sending Flowers to a Special Amazing Person

Back in gear and with another card today as I meant to share this weekend but after she received the card. Also, joining over at Simon Says Stamp Wednesday Challenge of Girl Power 

Once again, I'm using this beautiful Spring Flowers set from Simon Says Stamp and coloring with my Polychromos pencils and embossing powder to create this card. I really do enjoy coloring with pencils. 

For this card, I used my Misti tool again to help me when it came to embossing directly over the image after I colored the flowers and leaves. Here, I decided to use a lighter blue card stock and see how the colors would look on it as I never know when using colored card stock.

For the sentiment, I decided to pull out the You Matter stamp set along with the "You" wafer die from Simon Says Stamp as I like the font and size. 

Last but not least, added some 4mm Metallic Gold sequins along with a couple of small clear droplets over the little flowers.

Let me know if you would like for me to start adding the colors used for the Polychromos pencils so I can make note of them when posting. 


Thursday, February 15, 2018

Happy Birthday Wishes

I'm back again today as I wanted to share this Birthday Card that finally came together. Also, joining over at Simon Says Stamp Wednesday Challenge of Add A Die Cut  

Decided to pull out a few stamp sets to create this shaker for one of my Friends on IG to celebrate her birthday and wish her the best all year round. 
To create the background, I pulled out the You Matters background stamp from Simon Says Stamp and stamped it down using a light pink ink. When it comes to using light ink, I always use my Misti in case I want to re stamp the image and make it a little darker.

Moving on, next I pulled out the Big Scripty Greetings stamp set, also from Simon Says Stamp and heat embossed the words using Silver Pearl from WOW 

Afterwards, I used the Stitched Circles Wafer dies from Simon Says Stamp
to die cut a circle for my shaker. Than, I saw the Circle Sayings set and wondered if it would work around the circle and happy it did.  

For the inside circle, I thought it would be fun to add some color and ink blending. The inks colors are (bottom to top): Hot LipsTeeny Bikini, and Melon from Simon Says Stamp   

I love this little girl from Lila's Heart set and couldn't resist but to color her using my copic markers. Since I wanted a few more hearts, I pulled out the Stacked Hearts Die and added a couple on top.

Last but not least, I added lots of Sparkling Clear Confetti along with lots of Iridescent Heart Confetti from Pretty Pink Posh.


Friday, February 9, 2018

Sending You Love with Flowers

Back today with another card to join Kathy's 30 day color challenge. All the details on her blog, The Daily Marker. Lots of fun. Also, joining over at Simon Says Stamp Wednesday Challenge of It Must be Love

Decided to pull out this beautiful Spring Flowers set from Simon Says Stamp and color again using Polychromos pencils and really had fun. 

Once again, I did use my Misti tool to help me when it came to embossing directly over the image after I colored the flowers and leaves. Here, I decided to use a darker blue card stock and see how the colors would look on it and must say the reds really pop some color.

I'll try to list the colors that I used for this card in case you were interested in trying this technique of coloring on card stock using polychromos. 

For the sentiment, I decided to use the I Love You wafer die from Simon Says Stamp as I like the font and size. To pop the words up, I ran the die 3 times and glued them together. 

Last but not least, added some 4mm Metallic Gold sequins along with a couple of small clear droplets over the little flowers.


Tuesday, February 6, 2018

Sending Love and Prayers

Im back today with another card to join Kathy's 30 day color challenge. All the details on her blog, The Daily Marker. Lots of fun. Also, joining one more time over at Simon Says Stamp Wednesday Challenge of Anything Goes this week.

Here, I pulled out this beautiful Wishing You set from Altenew and wanted to create a sympathy card as I need one using my copic markers. Also, I used the Coordinating die to help me cut them out. 

For this card, I used the Scallop Borders 2 die from Pretty Pink Posh to create the background and have a slanted edge on the right hand side. Love the little scallops and stitching details of this border. 

For the sentiment, I decided to heat embossed using white embossing powder against black card stock so it would stand out. Popped up both images using white fun foam and added some 4mm Sparkling clear sequins to add some sparkles.

Added several white dots around using my white sharpie pen to finish off this card.


Monday, February 5, 2018

Birthday Friends with Bee Friends

Have you ever started a card with something in mind and than at the end it turned out totally different? Well, that's what happened to me on this card. 

Joining another day of Kathy's 30 day color challenge. All the details on her blog, The Daily Marker. Lots of fun. Also, joining one more time over at Simon Says Stamp Wednesday Challenge of Anything Goes this week.

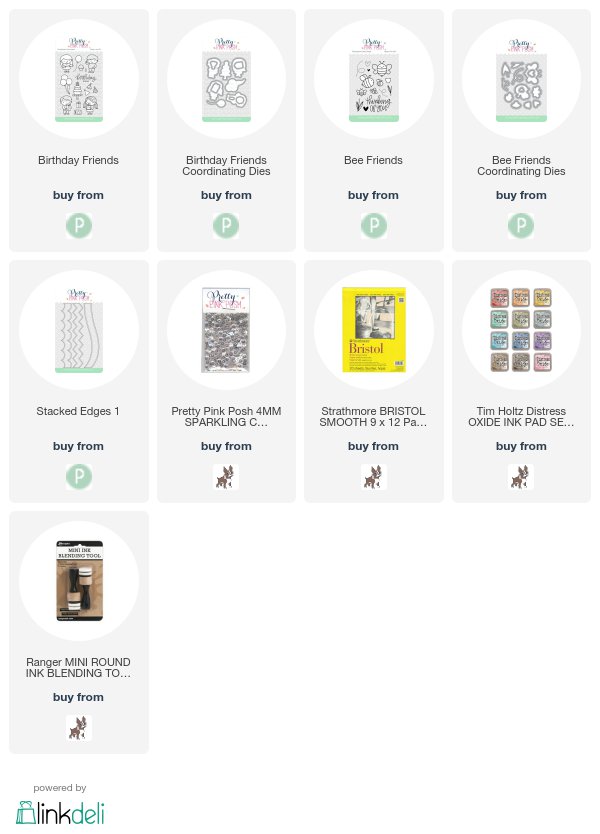
I couldn't resist but to use this new Birthday Friends set again from Pretty Pink Posh as I love it. Also, it's easy to cut them out when using the Coordinating Die which came in handy when I kept changing my mind and adding more balloons. 

For this card, I used Distress Oxide inks again as I'm having fun playing with them. To create the background, I used: (Bottom to top) Candied Apple, Spiced Marmalade, Fossilized Amber, Peeled Paint, Peacock Feathers.

Copic colors used:
Balloons: RV29, RV25, RV21, Y17, Y15, Y11, BG49, BG15, BG10
Bees: C9, c7, C5, C3, Y17, Y15, Y11
Outfit: BG49, BG15, BG10    Hair: E18, E15, YR21 

To blend the inks colors together, I used a foam blending tool from ranger and tried Stratmore Bristol smooth paper this time. I love how the color goes on this paper.

As I mentioned, I was playing around and decided to add some curved stripes to the background, so I pulled out the Stacked Edges 1 and die cut three to add to this card. 

Also, I thought these adorable Bee Friends would be cute to add to the scene and let me say, the Coordinating die for this set was beyond helpful. Especially cutting the tiny little bees.

Last but not least, I added some 4mm Sparkling clear sequins to add a little sparkle and added foam mount tape to pop up the little girl and bees. The balloons were glued down directly to the base. 

Main Supplies:

Saturday, February 3, 2018

Happy Birthday using Winter Flowers

I'm back today with another card to join another day of Kathy's 30 day color challenge. All the details on her blog, The Daily Marker. Lots of fun. Also, joining again over at Simon Says Stamp Wednesday Challenge of Anything Goes this week.

It feels good to pull out a stamp set that has been sitting for a super long time and use it. This one is the Winter Flowers set from Simon Says Stamp and wanted to try another coloring medium.

After watching a video made by Yana coloring on a darker card stock, I wanted to give it a try. So I pulled out my Misti and stamped the images down onto colored cardstock using a light colored ink. 

Next, I colored in these beautiful flowers and leaves using my Polychromos pencils making it into a birthday card.

Afterwards, I put the card stock back into my Misti and embossed the image using white embossing powder. You can click here to watch Yana's video on how to do this technique. 

For the sentiment, I used the Thoughtful Messages stamp set, also from Simon Says Stamp as it has really cute font. Last but not least, added some 4mm Sparkling clear sequins and kept it clean and simple. 

Friday, February 2, 2018

Birthday Friends and Wishes

I'm back today with another card to join another day of Kathy's 30 day color challenge. All the details on her blog, The Daily Marker. Lots of fun. Also, joining again over at Simon Says Stamp Wednesday Challenge of Anything Goes this week.

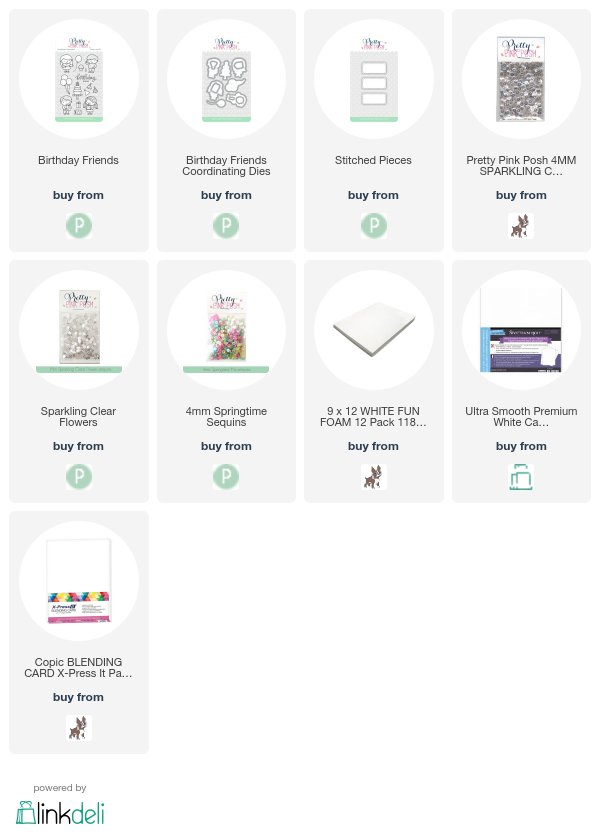
I just love this new Birthday Friends set where it comes with adorable little kids to choose from along with balloons, hats, presents, and a cake. Here, I used the Coordinating Die to help me cut out all the images after coloring them using my copic markers.

For this card, I used Distress Oxide inks to create a rainbow look for the edges using: Candied Apple, Spiced Marmalade, Fossilized Amber, Peeled Paint, Broken China, Wilted Violet.

To create the shaker, I pulled out one of my favorite dies: Stitched Pieces from Pretty Pink Posh and created some clouds in the middle using Maliblue ink from Simon Says Stamp along with foam blending tool from ranger.

To fill in this shaker, I used Sparkling Clear Confetti Mix, 4mm Springtime Mix, and Mini Sparkling flowers. Last but not least, added some white dots using my gel marker along with using foam mount tape to pop up the two little kids.


Main Supplies:

Wednesday, January 31, 2018

Just For You with Love using Vintage Roses and Pretty Pink Posh

I'm back today with another card and thought to join the Simon Says Stamp Wednesday Challenge of Anything Goes this week.

Since I was playing with vellum, I thought why not incorporate it into a card along with using a word die to create the background. 

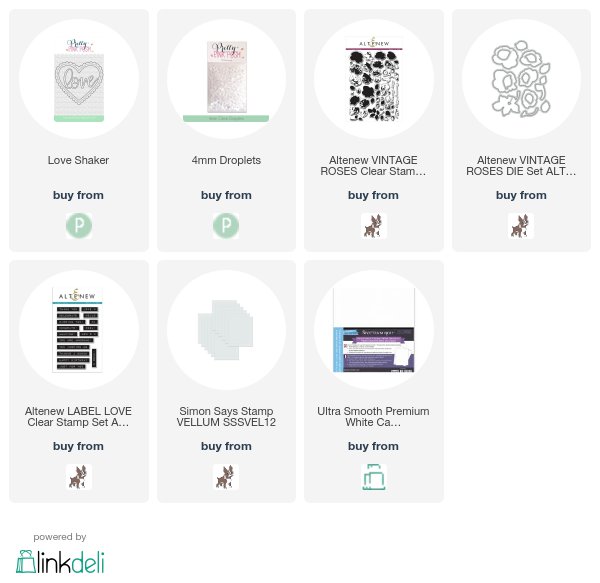
Started off this card by adding several word dies onto a white panel with the word "LOVE" from the new Love Shaker die, from Pretty Pink Posh 

TIP: To cut just the word out, I cut rectangles 2 3/4" x 1 5/8" and placed over just the word before die cutting. 

Here is what it looked like when I finished the panel and really like how the background turned out as this font is so pretty.

Next, added a panel of vellum from Simon Says Stamp measuring: 4 1/2 x 3 1/4"

Stamped these beautiful flowers using Vintage Roses from Altenew along with using their Coordinating die to help me cut them out. 

For the sentiment, I pulled out Label Love, also from Altenew since I wanted a solid block sentiment to go across. 

For the flowers and leaves, I used Altenew's inks since it already has a light med and dark tones to easily create this look. To finish off this card, I added some beautiful small Clear Droplets from Pretty Pink Posh


SUPPLIES:

Monday, January 29, 2018

Hello with Hummingbird

I'm back today with another card to join another day of Kathy's 30 day color challenge. All the details on her blog, The Daily Marker. Lots of fun. Also, joining again over at Simon Says Stamp Wednesday Challenge of Layer it Up

I couldn't resist but to make another card using these new Hummingbird Thanks stamp set from Pretty Pink Posh and decided to combine it with Pretty Petunias set. 

After coloring these adorable birds, I used the Coordinating dies to help me cut them out. 

Here is the list of Copic color combination is:  

Wing & Head: RV29, RV25, RV21, Y11
Body: B06, B02, B00, B000, also the colorless blender to smooth things over and take away color from the center of the body and ends of wings

Flower: RV29, RV25, RV21
Leaves: G21, G94, G99

For the sentiment, I used the Hello Friend Script die which I cut using black card stock and than clear embossed it three times to give it a glossy enamel look along with some dimension.   

To do this tag, I die cut a tag using the Stitched Duo 1 without the squares and trimmed off the bottom approx 1/4" and added some clouds to it. From there, I added a scallop border using the Stacked Edges 1 using some red card stock. 

Since I wanted just the bottom scallops to show, I cut a strip of black card stock to lay on top.

For the background, I die cut a panel using the Stitched Notes die and did some ink blending using Simon Says Stamp inks along with ranger blending tool.

Colors from top to bottom: Maliblue, Teeny Bikini, Melon, Duckling, Green Leaf.

Last but not least, the Bee Friends set from Pretty Pink Posh has three hearts, so I used the smallest one from the Coordinating die and cut three to add to the black strip and added some 4mm Sparkling clear sequins. 

Added white fun foam underneath the base panel and also added some foam mount tape under the hummingbird and flower. 

SUPPLIES: