Showing posts with label Simon Says Stamps. Show all posts

Monday, March 12, 2018

Sending Flowers to a Special Amazing Person

Back in gear and with another card today as I meant to share this weekend but after she received the card. Also, joining over at Simon Says Stamp Wednesday Challenge of Girl Power 

Once again, I'm using this beautiful Spring Flowers set from Simon Says Stamp and coloring with my Polychromos pencils and embossing powder to create this card. I really do enjoy coloring with pencils. 

For this card, I used my Misti tool again to help me when it came to embossing directly over the image after I colored the flowers and leaves. Here, I decided to use a lighter blue card stock and see how the colors would look on it as I never know when using colored card stock.

For the sentiment, I decided to pull out the You Matter stamp set along with the "You" wafer die from Simon Says Stamp as I like the font and size. 

Last but not least, added some 4mm Metallic Gold sequins along with a couple of small clear droplets over the little flowers.

Let me know if you would like for me to start adding the colors used for the Polychromos pencils so I can make note of them when posting. 


Thursday, February 15, 2018

Happy Birthday Wishes

I'm back again today as I wanted to share this Birthday Card that finally came together. Also, joining over at Simon Says Stamp Wednesday Challenge of Add A Die Cut  

Decided to pull out a few stamp sets to create this shaker for one of my Friends on IG to celebrate her birthday and wish her the best all year round. 
To create the background, I pulled out the You Matters background stamp from Simon Says Stamp and stamped it down using a light pink ink. When it comes to using light ink, I always use my Misti in case I want to re stamp the image and make it a little darker.

Moving on, next I pulled out the Big Scripty Greetings stamp set, also from Simon Says Stamp and heat embossed the words using Silver Pearl from WOW 

Afterwards, I used the Stitched Circles Wafer dies from Simon Says Stamp
to die cut a circle for my shaker. Than, I saw the Circle Sayings set and wondered if it would work around the circle and happy it did.  

For the inside circle, I thought it would be fun to add some color and ink blending. The inks colors are (bottom to top): Hot LipsTeeny Bikini, and Melon from Simon Says Stamp   

I love this little girl from Lila's Heart set and couldn't resist but to color her using my copic markers. Since I wanted a few more hearts, I pulled out the Stacked Hearts Die and added a couple on top.

Last but not least, I added lots of Sparkling Clear Confetti along with lots of Iridescent Heart Confetti from Pretty Pink Posh.


Friday, February 9, 2018

Sending You Love with Flowers

Back today with another card to join Kathy's 30 day color challenge. All the details on her blog, The Daily Marker. Lots of fun. Also, joining over at Simon Says Stamp Wednesday Challenge of It Must be Love

Decided to pull out this beautiful Spring Flowers set from Simon Says Stamp and color again using Polychromos pencils and really had fun. 

Once again, I did use my Misti tool to help me when it came to embossing directly over the image after I colored the flowers and leaves. Here, I decided to use a darker blue card stock and see how the colors would look on it and must say the reds really pop some color.

I'll try to list the colors that I used for this card in case you were interested in trying this technique of coloring on card stock using polychromos. 

For the sentiment, I decided to use the I Love You wafer die from Simon Says Stamp as I like the font and size. To pop the words up, I ran the die 3 times and glued them together. 

Last but not least, added some 4mm Metallic Gold sequins along with a couple of small clear droplets over the little flowers.


Saturday, February 3, 2018

Happy Birthday using Winter Flowers

I'm back today with another card to join another day of Kathy's 30 day color challenge. All the details on her blog, The Daily Marker. Lots of fun. Also, joining again over at Simon Says Stamp Wednesday Challenge of Anything Goes this week.

It feels good to pull out a stamp set that has been sitting for a super long time and use it. This one is the Winter Flowers set from Simon Says Stamp and wanted to try another coloring medium.

After watching a video made by Yana coloring on a darker card stock, I wanted to give it a try. So I pulled out my Misti and stamped the images down onto colored cardstock using a light colored ink. 

Next, I colored in these beautiful flowers and leaves using my Polychromos pencils making it into a birthday card.

Afterwards, I put the card stock back into my Misti and embossed the image using white embossing powder. You can click here to watch Yana's video on how to do this technique. 

For the sentiment, I used the Thoughtful Messages stamp set, also from Simon Says Stamp as it has really cute font. Last but not least, added some 4mm Sparkling clear sequins and kept it clean and simple. 

Friday, January 19, 2018

Sending you Love

Back today with another card to join Kathy's 30 day color challenge. All the details on her blog, The Daily Marker. Lots of fun. Also, joining over at Simon Says Stamp Wednesday Challenge of adding a Sentiment. 

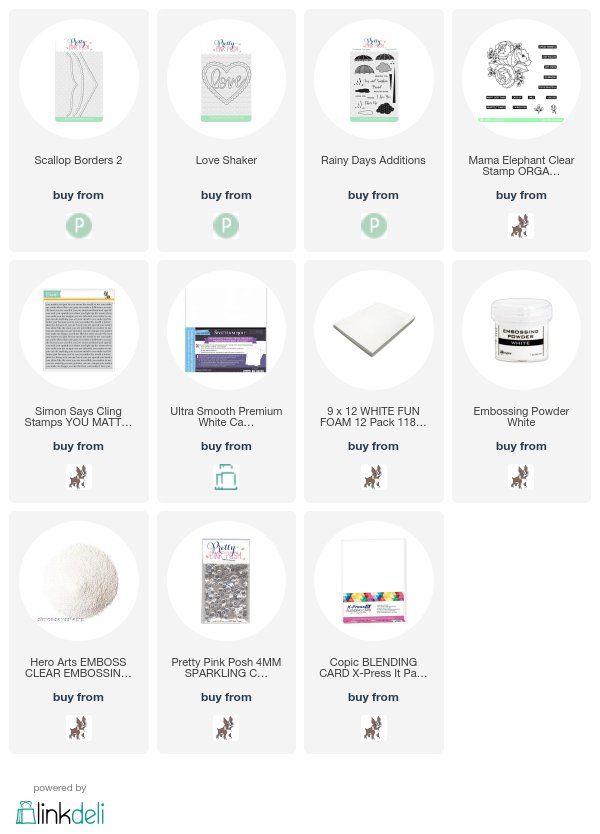
For this card, I started off by using the Scallop Borders 2 dies and laid it down as a slanted curve before die cutting. Than, I stamped the flower image down by offsetting it to fit on the lower right hand side of the card using the Organic Blooms set from Mama Elephant.

The Copic color combination used: RV29, RV25, RV21 (flower) G99, G94, YG03 (leaves)

For the sentiment, I embossed the "SENDING YOU" from the Rainy Days Additions using white embossing powder. 

Later, I cut out the word "LOVE" using the new Love Shaker die, from Pretty Pink Posh and embossed the word using clear powder. Repeated three times which than gives it a glossy enamel look and dimension.

Since I was embossing, I thought this cute sentiment background from Simon Says Stamp called: You Matters would look great using white powder against black card stock. 

Last but not least, added some foam mount underneath the top half of the card. Basically, the entire white cardstock so it could give some dimension and overlap of the bottom. Also, added some 4mm Sparkling clear sequins. 

SUPPLIES:
>

Sunday, January 14, 2018

Merry and Bright Christmas Card

As I was organizing my craft room today I noticed one of the Simon Says Stamp monthly kits laying around so I opened it up and noticed it's been sitting there a very long time hidden so I had to use. 

Plus, it has some cute patterned paper which is this week's challenge over at Simon Says Stamp Wednesday ChallengeAgain, one of my goals this year is to use stamp sets that have been sitting around. I call them NBUS (never been used stuff).  

Another Christmas card for the year 2018 as it's never to early to start stocking up for the year. Here I'm using this cute Merry and Bright set from Simon Says Stamp which came in the kit.

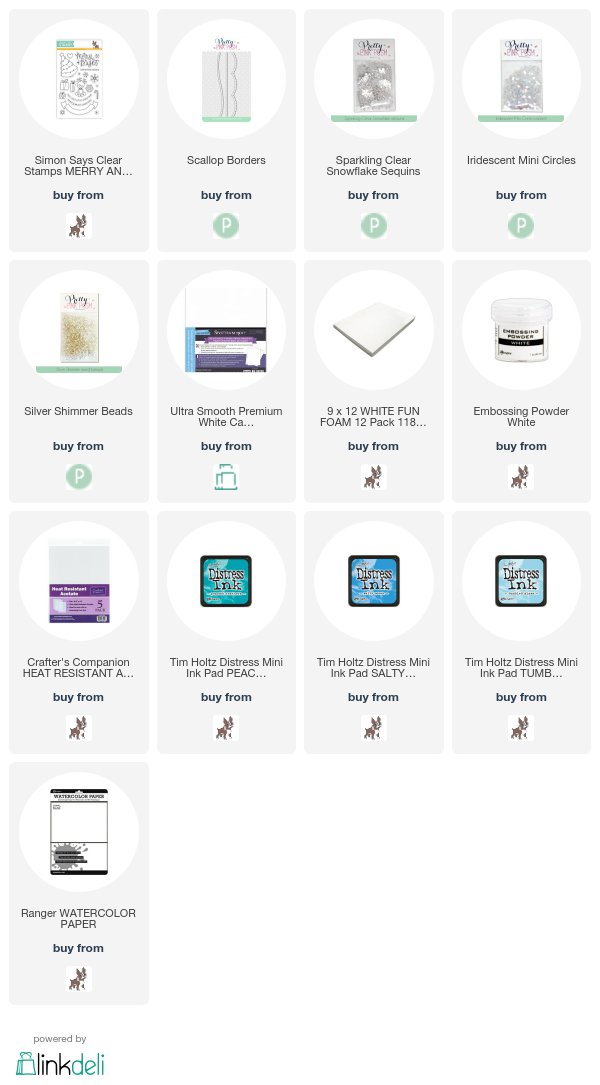
Started off by coloring these images using my copic markers and than put them aside to create a window globe shaker using one of my favorite dies, the Window Frames from Pretty Pink Posh

For the inside scene, I used some distress inks (Peacock Feathers, Salty Ocean, and Tumbled Glass). From there, I embossed some snowflakes at random and added the sentiment all from the same stamp set. 

To create a little snow hill, I pulled out the Scallop Border dies to give the illusion of more snow.

Added some fun Sparkling Clear Snowflakes in the background and glued them down in place before adding more sparkles. Here, I combined some Iridescent Mini Circles along with some Silver Shimmer Beads to make things shake and sparkle.

Last but not least, added some foam mount tape underneath the images and glued them down in place and added some 4mm Metallic Silver Sequins on top of the tree.

I'll be back tomorrow to join the start of the 30 day color challenge Kathy is hosting. 
Main SUPPLIES:

Wednesday, November 16, 2016

Ready Set Snow for Christmas

I'm having fun with this color challenge Kathy is hosting over at the The Daily Markerand back to Christmas time again. I figured to pulled out a set I haven't used and been sitting for a long time hidden. It's great when you find things!

Using this cute stamp set called Ready Set Snow from from Simon Says Stamp and since I love the snow, l used my favorite Falling Snow Stencil along with some texture embossing paste again. 
Here, I'm using my favorite Scallop Borders to create the snow hills by die cutting two and overlapping, but before adding it to the base, I stamped the sentiment using the same stamp set. 

Also, I pulled out this fabulous Scallop Frame die from Pretty Pink Posh as I do love the inverted scallops and amazing stitched details. 

Colored this adorable girl using my copic markers and ended up mixing them around on my desk once more. In fact, if you saw my desk, it's filled with markers everywhere.  

You know I love shakers and was going to create one, but as I was working on this card, I loved the way it came out. Also, if I change my mind, I can easily convert it to a shaker. 

For this card, I glued down these adorable Snowflake Sequin from Pretty Pink Posh and added 4mm Raspberry on top of them. Later, I added a few 4mm Sparkling Clear as I love adding sparkles. 


Monday, November 7, 2016

Christmas Card using Winter Bird Friend

Back today with another Christmas card using this adorable limited edition sets from Simon Says Stamp that was designed by Pretty Pink Posh as a collaboration during the Stamptember event. 

This set has so many fun accessories and its always fun to play dress up....don't you think? Also, joining in for another day of the color challenge, day 7 over at the The Daily Marker 

These storybook dies are so much fun to play with and love last month's addition of of Storybook 5, with the larger frame and side by side smaller rectangle. Here, I decided to use the bigger frame on top, but it can be used in a variety of ways. 

For this card, I started off by adding some snow using the Falling Snow Stencil from Simon Says Stamp along with some texture paste. 
   
To create the snow hills, I pulled out these Scallop Borders die from Pretty Pink Posh where I die cut two (2) of them to overlap and added them to the frame before placing down onto the Kraft card stock.  Can you tell it's one of my favorite dies? 

Next, I colored in these cute trees from the Winter Friends set using my Copic markers: 
Green: YG03, YG17, YG67
Brown: E37 and E33 

Also, to help cut them out and save time, I used the Coordinating die from the Winter Friends. From there, I added in several 4mm Holly Jolly Christmas Sequins mix as the colors go so nicely against the Kraft and perfect for this occasion. 

If you notice, I also added some 4mm Sparkling Clear sequins and glued them directly onto the tree as ornaments. From there, I took one of the many sentiments from the set and heat embossed using Ranger's Super fine white embossing powder. Love the fonts and sentiments from this set.  

These winter hats and scarf's are so cute, so once again I colored them using my Copic Markers using a red combination of R35, R46, R59 and glued them in place. Also, I added one of the four pairs of booties. Added some foam mount tape underneath before adding to this card to give it a little more dimension.


Saturday, September 24, 2016

STAMPtember Simon Says Stamp + Pretty Pink Posh - Winter Bird Friend

As you know, Simon Says Stamp is celebrating STAMPtember all month long and I'm so excited today to share this exclusive limited edition stamp set designed by Pretty Pink Posh for Simon Says Stamp called: Winter Bird Friend as it's so adorable and fell in love with it. 
This set has so many fun accessories and I was having so much fun dressing them up with these adorable scarf's, hats, and booties which is how this Happy Holidays shaker card came together. 

For this card, I started off by adding some snow using the Falling Snow stencil from Simon Says Stamp along with some texture paste.  

Next, I created these snow hills by using the new Scallop Borders die from Pretty Pink Posh where I die cut three (3) of them to place on top of one another to form the hill.  Love the details of the stitching and curves.

These winter hats and scarf's are so cute, so I pulled out my copic markers to color them using a red combination of R35, R46, R59 and glued them in place. Also, I added one of the four pairs of booties as they are so adorable along with some silver glitter on the hats.

To add a sentiment, I thought this Stitched Speech Bubbles die from Pretty Pink Posh would be perfect to add in and make it appear as they are speaking.
From there, I glued some 4mm Sparkling clear sequins to add more details to the background and added several Silver Shimmer Beads for the shaker portion as I love the way they shake inside. 

To close off the shaker card, I pulled out these beautiful exclusive Scallop Frames, also from Pretty Pink Posh as I love the inverted scallops and find it perfect to frame around any scene.  

There are loads of inspiration over at the Simon Says Stamp Blog to see more of this exclusive limited time stamp set. So make sure to check it out.


SUPPLIES: