Showing posts with label Sparkle Dot Patterns 2. Show all posts

Thursday, March 15, 2018

Happy Birthday using Sparkle Dot Patterns 2

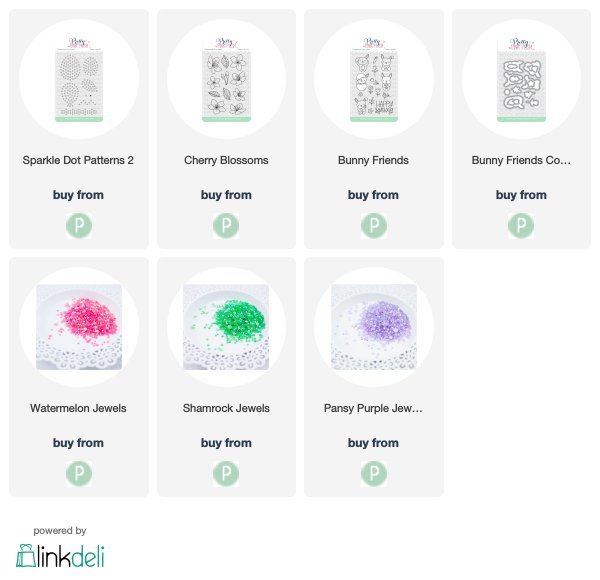
I'm back today with another card using the new Sparkle Dot Patterns 2 set from Pretty Pink Posh along with the new jewels as I'm loving them. Here, I made a different flower and created a birthday card for one of my friends at work.

Again, I started with an A2 size card base and penciled in two lines, both horizontal and vertical using the middle as a guide. For this flower, I placed the one petal on top of the horizontal line on top and than the other petals next to them.

I ended up added a pencil dot approx 1/2" above the center line to help see where I wanted the steam to start.

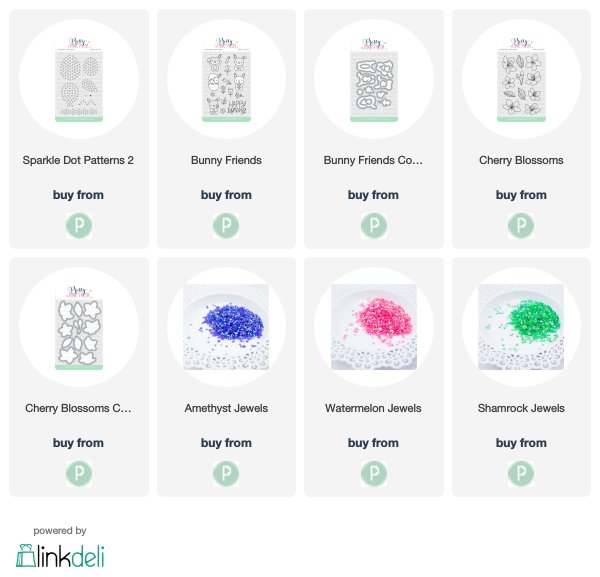
From there, I drawed in a steam by curving it and stamped down the leaves using the new Cherry Blossoms set with Antique Linen Distress ink as I was planning on coloring using my copic markers.

Next, I removed one petal and stamped using a light grey ink (fog-SSS) and repeated the process until the four petals were done. From there, I erased all pencil lines before adding the jewels.  

Afterwards, I placed one of the flowers from the new Bunny Friends set on top of the petals and colored it yellow to add a Lemon Drop jewel in the center.

To color in the steam and leaves, I used my copic markers as I wanted to practice no line coloring. Next, I used the Happy Easter Script die to cut out the word "HAPPY" four times to stack them together since I wanted to add some dimension. Afterwards, I pulled out the Fox Friends stamp set to use the word "BIRTHDAY".

Last but not least, I used these fabulous new jewels in Watermelon, Pansy Purple, and Shamrock for the leaves at the bottom. 

SUPPLIES:

Tuesday, March 13, 2018

Flower Petal with Bunny Friends

This card was so much fun to create using the new Sparkle Dot Patterns 2 set from Pretty Pink Posh and using the new jewels that I made a flower petal using one of the dot images from the set.

To start, I cut an A2 size card base and penciled in two lines, both horizontal and vertical using the middle as a guide. Since I was playing with the image, I decided to stamp and cut the image out 6 times using black ink, again, I was playing and used them as a template of what I wanted to make. In the end, the lines became my guide.

To help me more, I ended up added a pencil circle in the center which is approx 1/2" above the center line. From there, I arranged the two top petal against the vertical line at the top and than added petals next to the other ones until I was happy with it. 

Next, I removed one petal and stamped using a light grey ink (fog-SSS) and repeated the process until the full petal was complete with light fog ink. Since I wanted some clouds in the background, I added them before adding the jewels. 

Afterwards, I cut a thin strip of green card stock to create a steam and thought why not use the new Cherry Blossoms set for the leaves which I colored using my copic markers along with the Coordinating die to cut them out.

I couldn't resist but to use this new Bunny Friends stamp set again since as it's so cute so I placed one of the images in the center by using thin foam mount tape.
The Coordinating die was so handy to help me cut the image out perfectly. 

Last but not least, I used these fabulous new jewels in WatermelonAmethyst, and Shamrock for the leaves at the bottom. 

SUPPLIES: