Thursday, March 29, 2018

Birthday Celebration with Flowers and a Shaker

Back again today with a Birthday shaker for one of my sweet friends on IG who is celebrating their birthday and I wanted to wish her the very best day possible and all year long. Also, joining over at Simon Says Stamp Wednesday Challenge of Anything Goes   

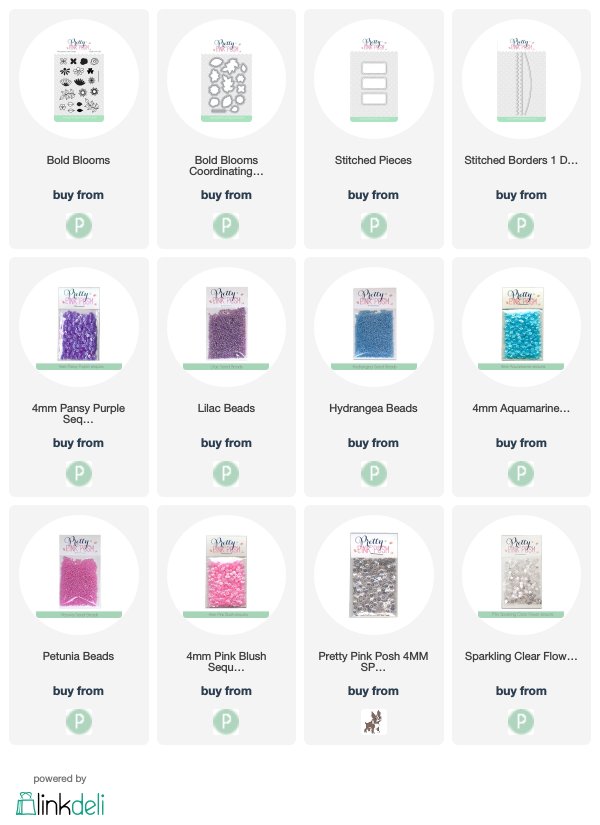
For this card, I'm using the Bold Blooms set from Pretty Pink Posh and started off by stamping several flowers using inks from Altenew using different colors. Next, I reached for the Coordinating Die which came in handy since I added a couple more flowers and leaves. 

To create the shaker, I pulled out one of my favorite, the: Stitched Pieces from Pretty Pink Posh and created some clouds in the middle using Maliblue ink from Simon Says Stamp along with foam blending tool from ranger.

Next, I die cut a couple of borders using the Stitched Borders 1 collection using gray card stock and glued under the shaker on each side.

I decided to add several shaker elements into each rectangle matching the corresponding flowers. For the pinks at the bottom, I combined: Petunia Seed Beads, 4mm Sparkling Clear Sequins, and 4mm Pink Blush


In all of the rectangles, I also added several Mini Sparkling Clear Flowers to combine with the other shaker elements. For the sentiment on the bottom, I pulled out the Everyday Greetings and heat embossed the words using white embossing powder.

At the end, I added some foam mount under the little flowers to pop them up over the leaves.    

SUPPLIES:

Wednesday, March 28, 2018

Happy Easter

Since Easter is around the corner, I thought I would make an Easter card using this cute Bunny Friends sets from Pretty Pink PoshAlso, joining over at Simon Says Stamp Wednesday Challenge of Anything Goes   

For this card, I wanted to challenge myself a bit by trying to create a one layer card, but at the same time, I keep thinking maybe a shaker and in the end, this is the result. 

I started off by using my copic markers to create the background scene along with adding some grass at the bottom. I thought to myself it's a good way to practice flicking upwards. 

From there, I added these cute little bunnies along with using the Coordinating die to cut them out perfectly. At first I was going to placed them flat onto the scene, but later changed my mind and added some foam mount to pop them up a little.

From there, I added the sentiment by using the new Happy Easter Script die for the word "Easter" and ended up die cutting it three times to glue them together to add some dimension. Next, I used the Fox Friends set for the word "Happy" along with some white embossing powder. 

I couldn't resist but to add these adorable Bee Friends to the scene and let me say, the Coordinating die for this set was beyond helpful.

Last but not least, I added some new jewel using Watermelon for the yellow and pink bunnies, Shamrock for the blue bunny in the middle, and Lemon Drop, for the background. In the end, I added a Scallop Frame which I also die cut three times and glued together for dimension.

SUPPLIES:

Sunday, March 25, 2018

Happy Birthday Shaker Card


I'm back today with another card. This time I combined a few stamp sets from Pretty Pink Posh to create this Happy Birthday shaker card for my grand daughter. Also joining the challenge over at Seize the Birthday with Birthday Theme

For this card, I pulled out Storybook 3 as they are fun to use to split up the scene and add little shaker items. So I began adding clouds using (Salty Ocean) distress ink along with (Mowed Lawn) for the grass. 

I really love the font script from the new Happy Easter Script die so I used the word "HAPPY" and added the word "Birthday" using the Fox Friends set.

This bunny is so cheerful from the Bunny Friends that I couldn't resist but to use along with the spring flowers and Coordinating die which helped me cut them out perfectly.

Since it's a celebration, I stamped a little party hat, present and balloons using the the Birthday Friends set along with the Coordinating Die to help me cut out the images as well. Added some foam mount tape under the bunny to add a little more dimension. 

Last but not least, I added some new jewel using Watermelon, Pansy PurpleLemon Drop, along with some Sparkling Clear Confetti Mix sequins for the top portion of the card. For the bottom portion, I added some Spring Green seed beads to finish off the card. 


SUPPLIES:

Saturday, March 17, 2018

Pretty Pink Posh Easter Theme Week


Here is a sneak peek at my card today using these adorable Bunny Friends stamp set plus more so come and join me on the Pretty Pink Posh Blog today as we celebrate Easter Theme Week. 

More photos and details on how I made this card can be seen by clicking here to go straight to the post. 

Lots more inspiration coming all week long on the Pretty Pink Posh Blog showcasing Easter Theme inspiration that you don't want to miss!


Thursday, March 15, 2018

Happy Birthday using Sparkle Dot Patterns 2

I'm back today with another card using the new Sparkle Dot Patterns 2 set from Pretty Pink Posh along with the new jewels as I'm loving them. Here, I made a different flower and created a birthday card for one of my friends at work.

Again, I started with an A2 size card base and penciled in two lines, both horizontal and vertical using the middle as a guide. For this flower, I placed the one petal on top of the horizontal line on top and than the other petals next to them.

I ended up added a pencil dot approx 1/2" above the center line to help see where I wanted the steam to start.

From there, I drawed in a steam by curving it and stamped down the leaves using the new Cherry Blossoms set with Antique Linen Distress ink as I was planning on coloring using my copic markers.

Next, I removed one petal and stamped using a light grey ink (fog-SSS) and repeated the process until the four petals were done. From there, I erased all pencil lines before adding the jewels.  

Afterwards, I placed one of the flowers from the new Bunny Friends set on top of the petals and colored it yellow to add a Lemon Drop jewel in the center.

To color in the steam and leaves, I used my copic markers as I wanted to practice no line coloring. Next, I used the Happy Easter Script die to cut out the word "HAPPY" four times to stack them together since I wanted to add some dimension. Afterwards, I pulled out the Fox Friends stamp set to use the word "BIRTHDAY".

Last but not least, I used these fabulous new jewels in Watermelon, Pansy Purple, and Shamrock for the leaves at the bottom. 

SUPPLIES:

Tuesday, March 13, 2018

Flower Petal with Bunny Friends

This card was so much fun to create using the new Sparkle Dot Patterns 2 set from Pretty Pink Posh and using the new jewels that I made a flower petal using one of the dot images from the set.

To start, I cut an A2 size card base and penciled in two lines, both horizontal and vertical using the middle as a guide. Since I was playing with the image, I decided to stamp and cut the image out 6 times using black ink, again, I was playing and used them as a template of what I wanted to make. In the end, the lines became my guide.

To help me more, I ended up added a pencil circle in the center which is approx 1/2" above the center line. From there, I arranged the two top petal against the vertical line at the top and than added petals next to the other ones until I was happy with it. 

Next, I removed one petal and stamped using a light grey ink (fog-SSS) and repeated the process until the full petal was complete with light fog ink. Since I wanted some clouds in the background, I added them before adding the jewels. 

Afterwards, I cut a thin strip of green card stock to create a steam and thought why not use the new Cherry Blossoms set for the leaves which I colored using my copic markers along with the Coordinating die to cut them out.

I couldn't resist but to use this new Bunny Friends stamp set again since as it's so cute so I placed one of the images in the center by using thin foam mount tape.
The Coordinating die was so handy to help me cut the image out perfectly. 

Last but not least, I used these fabulous new jewels in WatermelonAmethyst, and Shamrock for the leaves at the bottom. 

SUPPLIES:

Monday, March 12, 2018

Sending Flowers to a Special Amazing Person

Back in gear and with another card today as I meant to share this weekend but after she received the card. Also, joining over at Simon Says Stamp Wednesday Challenge of Girl Power 

Once again, I'm using this beautiful Spring Flowers set from Simon Says Stamp and coloring with my Polychromos pencils and embossing powder to create this card. I really do enjoy coloring with pencils. 

For this card, I used my Misti tool again to help me when it came to embossing directly over the image after I colored the flowers and leaves. Here, I decided to use a lighter blue card stock and see how the colors would look on it as I never know when using colored card stock.

For the sentiment, I decided to pull out the You Matter stamp set along with the "You" wafer die from Simon Says Stamp as I like the font and size. 

Last but not least, added some 4mm Metallic Gold sequins along with a couple of small clear droplets over the little flowers.

Let me know if you would like for me to start adding the colors used for the Polychromos pencils so I can make note of them when posting. 


Friday, March 9, 2018

Pretty Pink Posh New Release Day 2

Welcome to Day 2 of the blog hop showcasing Pretty Pink Posh's new release with tons of fun and inspiration. Plus prizes to be won along the way. 

You should have arrived from Pretty Pink Posh's Blog, but if you get lost, no worries, there is a complete line up list below so you can stay on track during the blog hop. 
I'm beyond thrilled to share these two cards with you today, so let's get started. 

I'm so excited with the new release and the addition of new jewels in so many colors that I couldn't resist but to use on each card. Here I started with this amazing 
Happy Easter Shaker die as it has so many beautiful details so I kept it clean and simple.

For this card, I started by first adding some grass at the bottom using ink and blending the color in. Next, I placed the Happy Easter Shaker die in the center of the card to die cut the easter egg. 

I put the easter egg aside while I created a background using alcohol inks which I than adhered to the opening. From there, I placed and glued down the easter egg back into the opening.

Now comes the fun part of adding several new jewel WatermelonAmethystLemon DropShamrock, and Pink Blush around the entire egg. So much fun!! Afterwards, I used my B000 copic marker along with colorless blender to go around the egg to add a shadow around it. 

Couldn't resist but to use this new Bunny Friends stamp set as it's so adorable and thought it would be perfect to add to this card. Also used the Coordinating die to help me cut the image out as well as adding a few little easter eggs from the Easter Friends set to finish this card.  

Moving onto the second card for the day....
Again, I couldn't resist but to use this new Bunny Friends stamp set as it's so adorable and has a variety of cute flowers to color in and create scenes. For this card, I started off by creating some grass using the Scallop Border to die cut two strips.  

Next, I grabbed these fabulous new Decorative Eggs as it comes with different designs to play with. Therefore, I created another alcohol background and used the solid egg die from the set to cut two of them. Next, I added the decorative dies on top to complete the eggs. 

As I mentioned before, I'm in love with the new addition of all of the jewels, so on this card, I decided to add Pink Blush around both eggs.  Added foam mount tape under the bunny in the middle and underneath the top row of the grass in front to add a little more dimension. 

For the sentiment, I used the new Encouraging Greetings as I thought it would be perfect with all of these bunnies and love the saying of Friends makes everything better.
  
Let's continue celebrating with your next stop with the talented Heather Hoffman  

GIVEAWAY! During this blog hop, there will be (4) $25 Gift Certificates to Pretty Pink Posh up for grabs every day (2) $25 Gift Certificates on each day

Winners will be picked randomly along the blog hop (comments must be left by 11:59pm PDT on 3/12/2018), and will be announced on the Pretty Pink Posh Blog

SUPPLIES: