Showing posts with label Hummingbird Thanks. Show all posts

Thursday, May 31, 2018

PPP Cherry Blossom and Hummingbird Thanks

So excited to be showcasing today these Cherry Blossoms flowers along with the Hummingbird Thanks set which is now back in stock over on the Pretty Pink Posh Blog

More photos and details on how I made this card can be seen by clicking here 

Also, sneak peeks at new upcoming release can be found there as well along with lots of inspiration. 


Tuesday, January 30, 2018

Hello Friend

I'm back today with another card and quick post to join another day of Kathy's 30 day color challenge. All the details on her blog, The Daily Marker.

I was watching Jennifer McGuire's video on Alcohol ink lift with stencils and wanted to give it a try using vellum. I decided to keep it as a full panel and use this fabulous Hello Friend Script die which I die cut three times and glued together to give some dimension.

Also added one of the Hummingbirds from the Hummingbird Thanks stamp set from Pretty Pink Posh that was colored using my copic markers.

Wing & Head: RV29, RV25, RV21, Y11
Body: B06, B02, B00, B000, also the colorless blender to smooth things over and take away color from the center of the body and ends of wings

Last but not least added some 4mm Sparkling clear sequins and kept it clean and simple. 


Monday, January 29, 2018

Hello with Hummingbird

I'm back today with another card to join another day of Kathy's 30 day color challenge. All the details on her blog, The Daily Marker. Lots of fun. Also, joining again over at Simon Says Stamp Wednesday Challenge of Layer it Up

I couldn't resist but to make another card using these new Hummingbird Thanks stamp set from Pretty Pink Posh and decided to combine it with Pretty Petunias set. 

After coloring these adorable birds, I used the Coordinating dies to help me cut them out. 

Here is the list of Copic color combination is:  

Wing & Head: RV29, RV25, RV21, Y11
Body: B06, B02, B00, B000, also the colorless blender to smooth things over and take away color from the center of the body and ends of wings

Flower: RV29, RV25, RV21
Leaves: G21, G94, G99

For the sentiment, I used the Hello Friend Script die which I cut using black card stock and than clear embossed it three times to give it a glossy enamel look along with some dimension.   

To do this tag, I die cut a tag using the Stitched Duo 1 without the squares and trimmed off the bottom approx 1/4" and added some clouds to it. From there, I added a scallop border using the Stacked Edges 1 using some red card stock. 

Since I wanted just the bottom scallops to show, I cut a strip of black card stock to lay on top.

For the background, I die cut a panel using the Stitched Notes die and did some ink blending using Simon Says Stamp inks along with ranger blending tool.

Colors from top to bottom: Maliblue, Teeny Bikini, Melon, Duckling, Green Leaf.

Last but not least, the Bee Friends set from Pretty Pink Posh has three hearts, so I used the smallest one from the Coordinating die and cut three to add to the black strip and added some 4mm Sparkling clear sequins. 

Added white fun foam underneath the base panel and also added some foam mount tape under the hummingbird and flower. 

SUPPLIES:

Tuesday, January 16, 2018

Sending Lots of Love with Flowers and Hummingbirds

Back today with Day 2 of Kathy's 30 day color challenge  Check out all the details on her blog, The Daily Marker. Lots of fun. Also, joining one more time over at Simon Says Stamp Wednesday Challenge using Patterned Paper

I loved coloring these new Hummingbird Thanks stamp set from Pretty Pink Posh that I decided to use them again using a different color combo. Will list the colors used below. 

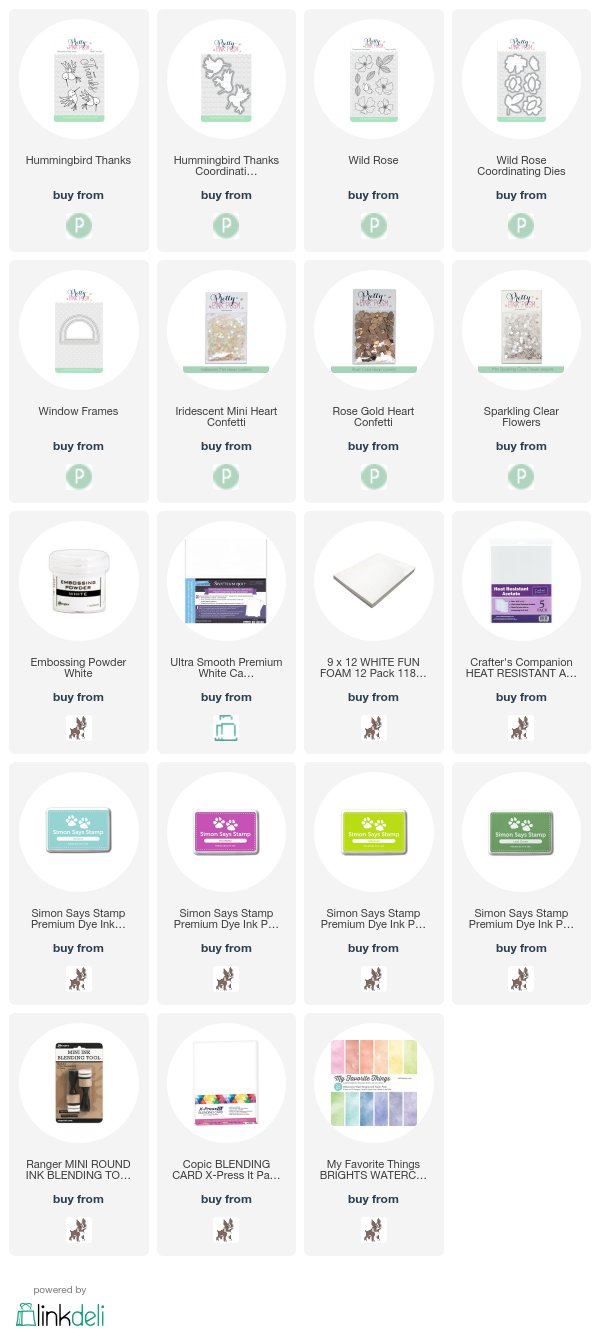
After coloring these adorable birds, I used the Coordinating dies to help me cut them out. Also, once again using the Window Frames from Pretty Pink Posh but used the smaller of the windows to use for this card. 

The Copic color combination is: At the end, I added some white dots on the wings and body using my white gel pen. 

Wing: BV00, BV02, BV08
Body: B06, B02, B00, B000, BG49, BG15, BG10, also the colorless blender to smooth things over and take away color from the center of the body and ends of wings

For the sentiment, I used the Everyday Greetings and embossed it using white powder. 

For the flowers, I used the Wild Rose stamp set and embossed them using white powder. Than, I grabbed a couple of ink pads from Simon Says Stamp to color these flowers fast by using ranger's foam blending tool. 

For the leaves, I used Jellybean and Green Leaf (both SSS)
Flowers: Hot Mama (SSS), Mango (Altenew)

Afterwards, I pulled out some Faber Castell pencils to create an even darker shadow and contrast. Again, added some white dots to the leaves. Used the Coordinating Wild Rose die to help me cut them out. 

To fill in this shaker, I used this beautiful new Rose Gold Heat Confetti along with Mini Sparkling Clear Flowers and Iridescent Mini Heart Confetti sequins. 

Last but not least, added some foam mount tape underneath the images and glued them down in place to finish off this card. 

SUPPLIES:

Monday, January 15, 2018

Birthday Wishes with Hummingbirds and Bold Blooms


Back today with Day 1 of Kathy's 30 day color challenge as she is once again hosting. Check out all the details on her blog, The Daily Marker. It's always so much fun. Also, joining this week's at Simon Says Stamp Wednesday Challenge using Patterned Paper

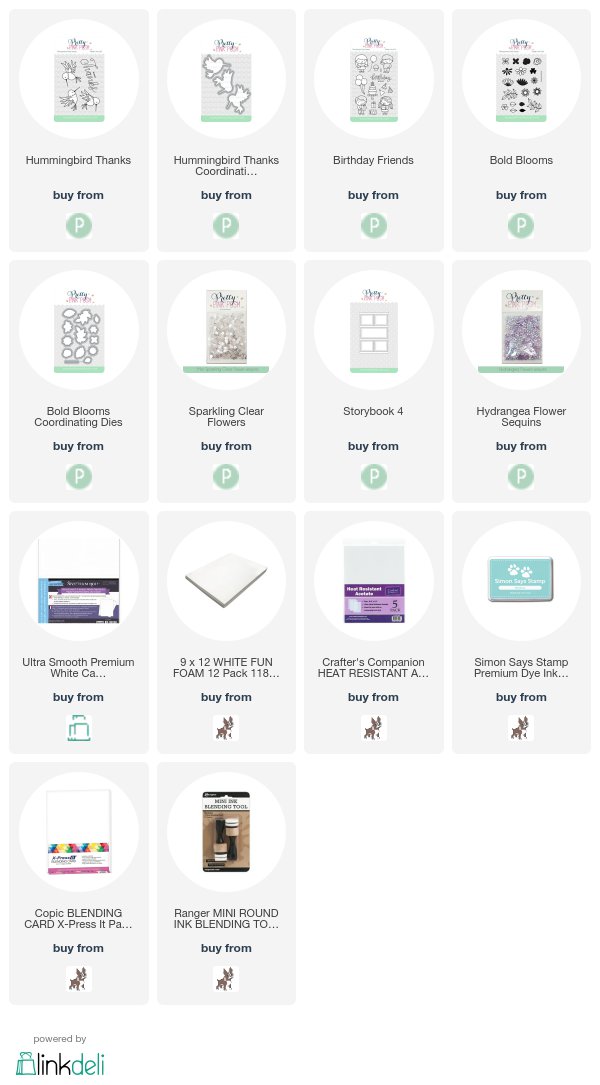
As you know I love using storybook dies, so I decided to create another  birthday card using Storybook 4 along with one of the new Hummingbird Thanks stamp set from Pretty Pink Posh.

I was having fun coloring with my copic markers with these adorable hummingbirds and mixed several colors together.

Wings and above beak area: RV52, RV55, RV66, Y11
Body: B06, B02, B00, B000, Y11

The Coordinating dies for this set came in handy as they cut and match the image perfectly. For the sentiment, I used one of the new sets called: Birthday Friends as it's one of my favorite fonts for the center of this card. 

For this card, I added several flowers on two of the corners by using this adorable Bold Blooms set along with the Coordinating die

To fill in this shaker, I used a combination of Hydrangea Flower Sequin Mix along with several Mini Sparkling Clear Flowers as they go perfect together. 

Last but not least, added some foam mount tape underneath the images and glued them down in place to finish off this card. 

SUPPLIES: