Showing posts with label Shaker card. Show all posts

Tuesday, June 12, 2018

Fly Away Friends and Dream Big

Back today with another card to join Kathy's 30 day color challenge. All the details on her blog, The Daily Marker

For this card, I pulled out this adorable Fly Away Friends set from Pretty Pink Posh as I love these little critters along with the different balloons and little hearts.  

Once again, I started off by creating the background by using a Sun Ray stencil and added some yellow rays using an ink blending tool.  

Next, I pulled out these Scallop Frames die to use for the shaker portion of the card and decided to keep it white. From there, I used the scallop border from the Stitched Borders 2 collection to create the cloud. 

To add a little blue to the cloud, I ended up die cutting another scallop border and used Salty Ocean distress oxide to add some color and than pieced them together.

This Fly Away Friends set has several sentiments to choose from so I combined two of them together and embossed it using white embossing powder. Plus, I couldn't resist but to use these little hearts from the set. The Coordinating Die made it easy to cut them out. 

To fill this shaker, I first glued down some Silver Mini Star Confetti and than went a little crazy adding in 1/4" Iridescent Star Confetti along with Sparkling Clear Mix which has an assortment of sizes ranging from 4mm through 10mm sequins.

Last but not least, I added some foam mount tape under the balloon and little critter to pop him up. Also, to add even more sparkles, I added some Pearl White jewels around the sentiment as it has a nice contrast against black card stock.


Thursday, May 31, 2018

PPP Cherry Blossom and Hummingbird Thanks

So excited to be showcasing today these Cherry Blossoms flowers along with the Hummingbird Thanks set which is now back in stock over on the Pretty Pink Posh Blog

More photos and details on how I made this card can be seen by clicking here 

Also, sneak peeks at new upcoming release can be found there as well along with lots of inspiration. 


Monday, April 2, 2018

Happy Birthday using Easter Shaker Die

I'm back again today and since I was having fun with this Happy Easter Shaker die from Pretty Pink Posh I thought why not use it for a Birthday card as I wanted to make a special card for one of my sweet friends on IG who is celebrating their birthday. May all your wishes come true Michelle!! 

Also, joining one more time with the Simon Says Stamp Wednesday Challenge of Anything Goes. Here you go

I really love this Happy Easter Shaker die so I thought by cutting out the word Easter, I could turn it into a Happy Birthday card and use the beautiful elements of the die. So after I cropped the word out, I colored the flowers, leaves, and the "HAPPY" using my copic markers. 

For the word "Birthday", I used the Fox Friends set and stamped it down using black ink against the white. 

To make this into a shaker, I ended up die cutting the Happy Easter Shaker die again using white fun foam to act as the middle sandwich and than used an oval shaped die to cover the shaker.

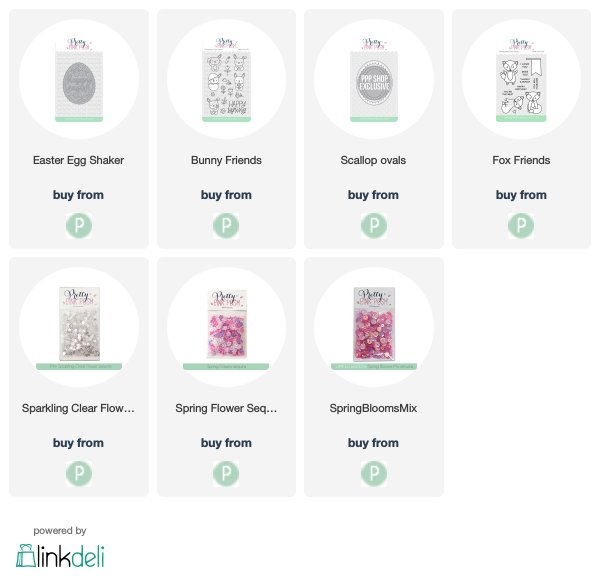
To fill up this shaker, I used: Spring Blooms Sequins Mix as it has an assortment of pinks, purples, and iridescent sequins. Also, added several Mini Sparkling Clear Flowers and a couple of flowers from the Spring Flower Sequins Mix 

As you can see, the oval shape die fits perfect behind this Happy Easter Shaker die 

For the inside of the card, I decorated it by using the Scallop Oval Die along with using the new Bunny Friends stamp set as this little guy screams "fun, sending hugs, celebration, and more" to me. 

For the sentiment on the inside of the card, I pulled out Birdie Friends and stamped the banner sign. Later, I cut off the legs from the banner to have just the rectangle frame. Added foam mount to pop it up as this is what helps to hold the card upright so one can place anywhere.  

SUPPLIES:

Thursday, March 29, 2018

Birthday Celebration with Flowers and a Shaker

Back again today with a Birthday shaker for one of my sweet friends on IG who is celebrating their birthday and I wanted to wish her the very best day possible and all year long. Also, joining over at Simon Says Stamp Wednesday Challenge of Anything Goes   

For this card, I'm using the Bold Blooms set from Pretty Pink Posh and started off by stamping several flowers using inks from Altenew using different colors. Next, I reached for the Coordinating Die which came in handy since I added a couple more flowers and leaves. 

To create the shaker, I pulled out one of my favorite, the: Stitched Pieces from Pretty Pink Posh and created some clouds in the middle using Maliblue ink from Simon Says Stamp along with foam blending tool from ranger.

Next, I die cut a couple of borders using the Stitched Borders 1 collection using gray card stock and glued under the shaker on each side.

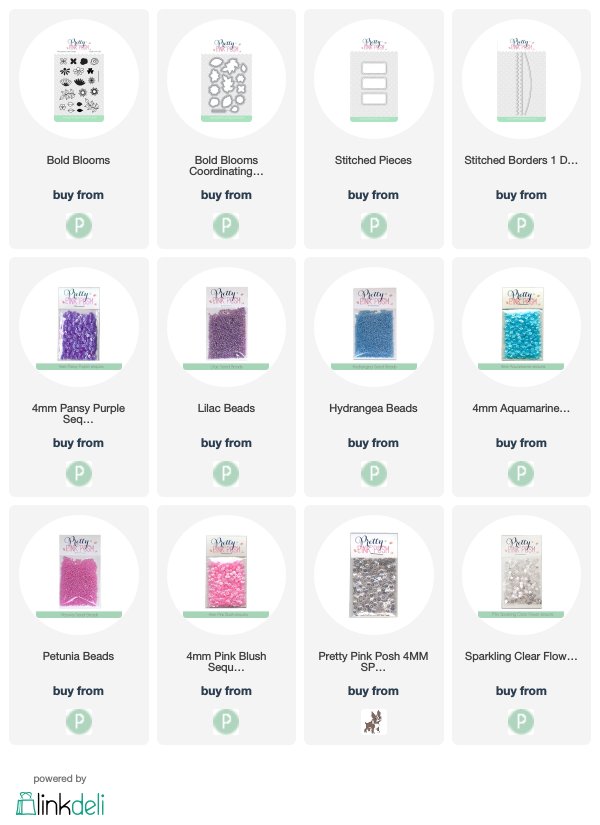
I decided to add several shaker elements into each rectangle matching the corresponding flowers. For the pinks at the bottom, I combined: Petunia Seed Beads, 4mm Sparkling Clear Sequins, and 4mm Pink Blush


In all of the rectangles, I also added several Mini Sparkling Clear Flowers to combine with the other shaker elements. For the sentiment on the bottom, I pulled out the Everyday Greetings and heat embossed the words using white embossing powder.

At the end, I added some foam mount under the little flowers to pop them up over the leaves.    

SUPPLIES:

Sunday, March 25, 2018

Happy Birthday Shaker Card


I'm back today with another card. This time I combined a few stamp sets from Pretty Pink Posh to create this Happy Birthday shaker card for my grand daughter. Also joining the challenge over at Seize the Birthday with Birthday Theme

For this card, I pulled out Storybook 3 as they are fun to use to split up the scene and add little shaker items. So I began adding clouds using (Salty Ocean) distress ink along with (Mowed Lawn) for the grass. 

I really love the font script from the new Happy Easter Script die so I used the word "HAPPY" and added the word "Birthday" using the Fox Friends set.

This bunny is so cheerful from the Bunny Friends that I couldn't resist but to use along with the spring flowers and Coordinating die which helped me cut them out perfectly.

Since it's a celebration, I stamped a little party hat, present and balloons using the the Birthday Friends set along with the Coordinating Die to help me cut out the images as well. Added some foam mount tape under the bunny to add a little more dimension. 

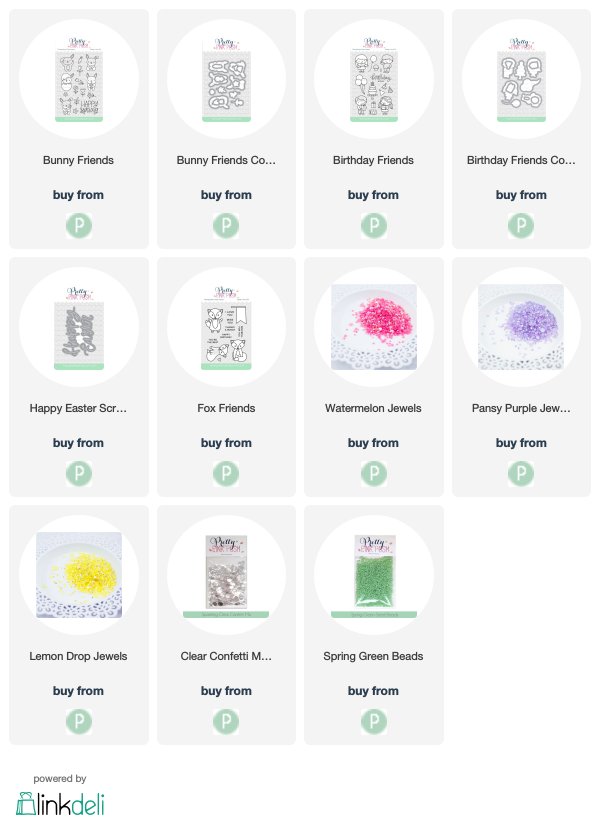
Last but not least, I added some new jewel using Watermelon, Pansy PurpleLemon Drop, along with some Sparkling Clear Confetti Mix sequins for the top portion of the card. For the bottom portion, I added some Spring Green seed beads to finish off the card. 


SUPPLIES:

Thursday, February 15, 2018

Happy Birthday Wishes

I'm back again today as I wanted to share this Birthday Card that finally came together. Also, joining over at Simon Says Stamp Wednesday Challenge of Add A Die Cut  

Decided to pull out a few stamp sets to create this shaker for one of my Friends on IG to celebrate her birthday and wish her the best all year round. 
To create the background, I pulled out the You Matters background stamp from Simon Says Stamp and stamped it down using a light pink ink. When it comes to using light ink, I always use my Misti in case I want to re stamp the image and make it a little darker.
Moving on, next I pulled out the Big Scripty Greetings stamp set, also from Simon Says Stamp and heat embossed the words using Silver Pearl from WOW 

Afterwards, I used the Stitched Circles Wafer dies from Simon Says Stamp
to die cut a circle for my shaker. Than, I saw the Circle Sayings set and wondered if it would work around the circle and happy it did.  

For the inside circle, I thought it would be fun to add some color and ink blending. The inks colors are (bottom to top): Hot LipsTeeny Bikini, and Melon from Simon Says Stamp   

I love this little girl from Lila's Heart set and couldn't resist but to color her using my copic markers. Since I wanted a few more hearts, I pulled out the Stacked Hearts Die and added a couple on top.

Last but not least, I added lots of Sparkling Clear Confetti along with lots of Iridescent Heart Confetti from Pretty Pink Posh.


Tuesday, February 13, 2018

PPP Sending All My Love

Wanted to create some "Sending Love" cards to send out so I created two different ones using the same design. Also, joining over at Simon Says Stamp Wednesday Challenge of It Must be Love

This card was quick and easy to make using the new Love Shaker die from Pretty Pink Posh and perfect for someone you care about. 

To create the background, I cut a 1 inch strip of Stratmore Bristol smooth paper and used some Distress Oxide inks rainbow theme. From right to left, here are the colors, Candied Apple, Spiced Marmalade, Fossilized Amber, Peeled Paint, Broken China, and Wilted Violet.

Next, I ended up die cutting this beautiful heart twice, once with Gold Foil and second time with white just for the word.

To add the little hearts in Candied Apple color, I used the Cupids Friends set as it has three tiny hearts all together. From there, I thought to add more hearts in gold, so I used the new Love Sentiments stamp set and heat embossed in gold. 

For the word, "All My" I decided to heat emboss it using white against black card stock, again using the new Love Sentiments stamp set. To finish the card, I added three 4mm clear droplets.

After I finished the card above, I thought why not make a shaker as well. Therefore, I kept the same design but made it into a shaker card.

To create the 1 inch border rainbow, I masked the card base and did the ink blending right on top vs on a strip. Than, to create the shaker, I die cut the heart where I wanted it and used an inlay technique to keep to top of the card flush.

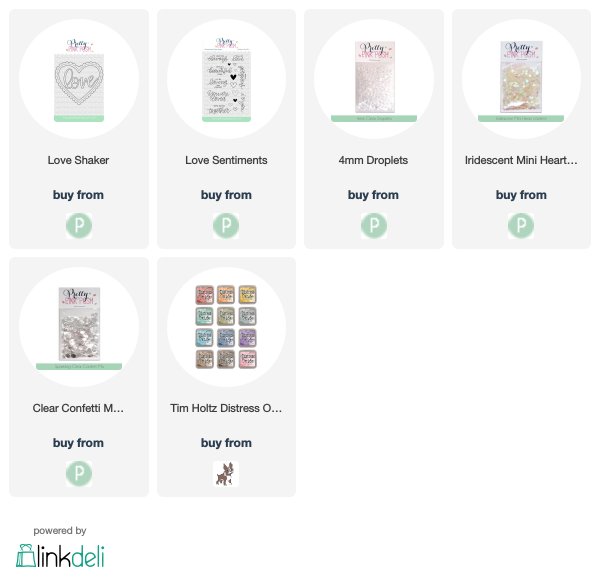
Last but not least, added some Iridescent Mini Heart Confetti along with Sparkling Clear Confetti Mix to add a little more sparkle.

Main Supplies:

Wednesday, February 7, 2018

Best Wishes on Your Birthday


Joining another day of Kathy's 30 day color challenge. All the details on her blog, The Daily Marker. Also joining Seize the Birthday with Birthday Theme. 

My friend is celebrating her birthday and I know she loves this Friends Forever set from Pretty Pink Posh so I decided to create a shaker card for her. All the images were colored using my copic markers.

To create the scene, I thought it would be great to add these adorable Bee Friends as they are perfect for background scenes and so cute. Here, I used the the Coordinating die for this set as it makes it easy to cut out the images.

For this card, I used one of my favorite dies....Storybook 1 and did some ink blending for the background adding grass and clouds. 

Next, I stamped the sentiment using the Everyday Greetings as I love the mix of the fonts. As I was putting this together, I thought this Scallop Frames die would be perfect to add to this card. 

To fill this shaker, I first glued down some Sparkling Clear Stars to stay in place before adding some Spring Green BeadsLast but not least, I added some foam mount tape to pop up the little girl and bees. 

Don't want to forget, the little balloon is from the new Birthday Friends set.


Friday, February 2, 2018

Birthday Friends and Wishes

I'm back today with another card to join another day of Kathy's 30 day color challenge. All the details on her blog, The Daily Marker. Lots of fun. Also, joining again over at Simon Says Stamp Wednesday Challenge of Anything Goes this week.

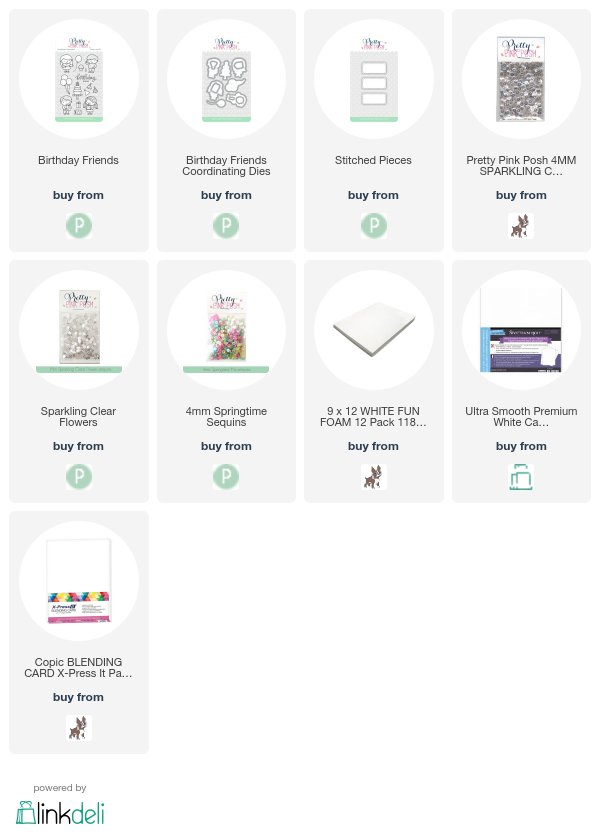
I just love this new Birthday Friends set where it comes with adorable little kids to choose from along with balloons, hats, presents, and a cake. Here, I used the Coordinating Die to help me cut out all the images after coloring them using my copic markers.

For this card, I used Distress Oxide inks to create a rainbow look for the edges using: Candied Apple, Spiced Marmalade, Fossilized Amber, Peeled Paint, Broken China, Wilted Violet.

To create the shaker, I pulled out one of my favorite dies: Stitched Pieces from Pretty Pink Posh and created some clouds in the middle using Maliblue ink from Simon Says Stamp along with foam blending tool from ranger.

To fill in this shaker, I used Sparkling Clear Confetti Mix, 4mm Springtime Mix, and Mini Sparkling flowers. Last but not least, added some white dots using my gel marker along with using foam mount tape to pop up the two little kids.


Main Supplies:

Tuesday, January 30, 2018

Pretty Pink Posh Valentine Theme Week


Here is a sneak peek at my card today using these adorable Woodland Critters set plus more so come and join me on the Pretty Pink Posh Blog today as we celebrate Valentine Theme Week. 

More photos and details on how I made this card can be seen by clicking here to go straight to the post. 

Lots more inspiration coming all week long on the the Pretty Pink Posh Blog showcasing Valentine Theme inspiration that you don't want to miss!


Tuesday, January 16, 2018

Sending Lots of Love with Flowers and Hummingbirds

Back today with Day 2 of Kathy's 30 day color challenge  Check out all the details on her blog, The Daily Marker. Lots of fun. Also, joining one more time over at Simon Says Stamp Wednesday Challenge using Patterned Paper

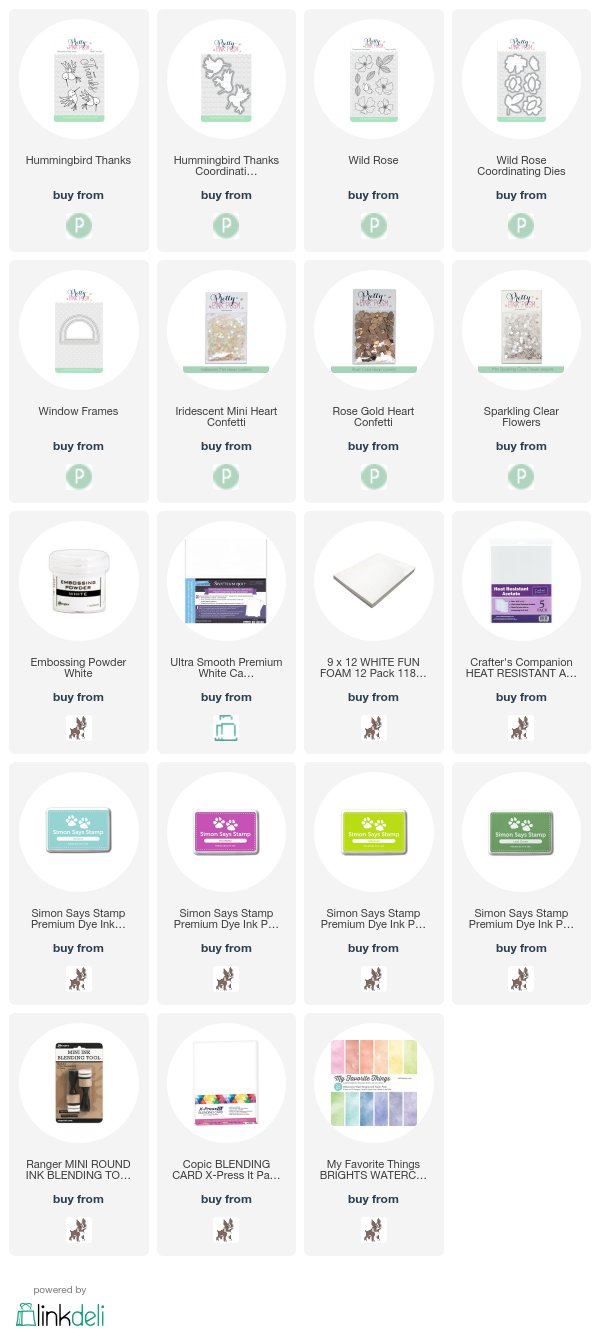
I loved coloring these new Hummingbird Thanks stamp set from Pretty Pink Posh that I decided to use them again using a different color combo. Will list the colors used below. 

After coloring these adorable birds, I used the Coordinating dies to help me cut them out. Also, once again using the Window Frames from Pretty Pink Posh but used the smaller of the windows to use for this card. 

The Copic color combination is: At the end, I added some white dots on the wings and body using my white gel pen. 

Wing: BV00, BV02, BV08
Body: B06, B02, B00, B000, BG49, BG15, BG10, also the colorless blender to smooth things over and take away color from the center of the body and ends of wings

For the sentiment, I used the Everyday Greetings and embossed it using white powder. 

For the flowers, I used the Wild Rose stamp set and embossed them using white powder. Than, I grabbed a couple of ink pads from Simon Says Stamp to color these flowers fast by using ranger's foam blending tool. 

For the leaves, I used Jellybean and Green Leaf (both SSS)
Flowers: Hot Mama (SSS), Mango (Altenew)

Afterwards, I pulled out some Faber Castell pencils to create an even darker shadow and contrast. Again, added some white dots to the leaves. Used the Coordinating Wild Rose die to help me cut them out. 

To fill in this shaker, I used this beautiful new Rose Gold Heat Confetti along with Mini Sparkling Clear Flowers and Iridescent Mini Heart Confetti sequins. 

Last but not least, added some foam mount tape underneath the images and glued them down in place to finish off this card. 

SUPPLIES: