I love when you can get more use out of your dies, so today I wanted to show how to create your own background using these cute Stitched Essentials 1 from from Pretty
Pink Posh as you can create so many things with all of the dies included in the set with basic shapes, tags, and more.
To start this mini card, I pulled out some white card stock and cut a 5" x 7" piece and folded in half so the finish size would be a 3.5" x 5" inch card. I put it aside while I worked on creating my background.
To start the background, I first cut a piece of white card stock measuring 3 1/4" x 4.75". From there, I selected this cute tag and seperated the die to only use the circle and ran it through the die cutting machine six (6) times using various designer papers.
Next, I placed the circles randomly onto the card stock and trimmed off any excess as I placed a couple of circles past the cardstock edges.
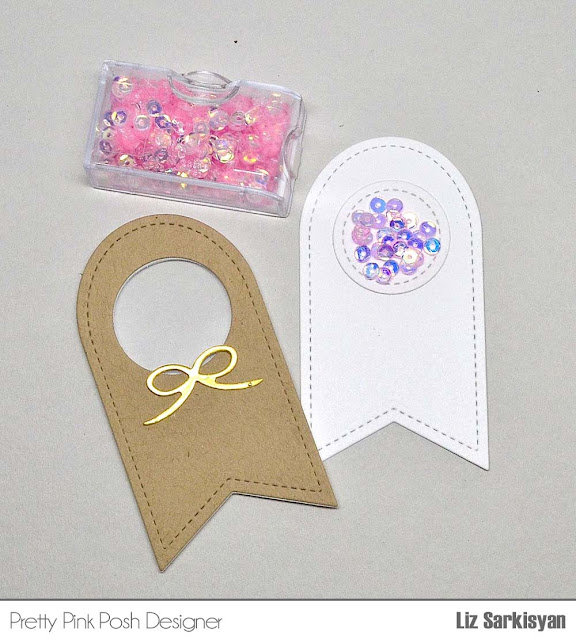
From there, I moved onto creating the little shaker by die cutting this cute tag using kraft cardstock as well as fun foam. In addition, one (1) white stitched circle was cut.
Next, I flipped over the tag (Kraft) and first added some acetate using some glue to cover the open circle. From there, more glue was added on top of the acetate to adhere the fun foam.
Again, I prefer using glue as it allows me to move it slightly to match perfectly, but you can use any adhesive. Afterwards, I lay a clear block on top of it for a few minutes to allow the glue to dry.
Sometimes I'll create the shaker to be on it's own while other times, I'll create the shaker directly onto the card. Here, you can see I decided to create the shaker to be independent.
To do this, I used the same tag from the Stitched Essentials 1 setand ran it through the machine using white card stock and added the previously cut stitched circle on top. Instead of guessing where the circle goes, I did die cut another tag to place on top to use as a template. Once, the circle was added, I removed the template.
I love the iridescent sequins collection as it provides an extra sparkle and based on how the light hits, it's shows off so beautiful, so I pulled out one of my favorite colors: 4mm Ballerina Pink sequins.
From there, I added some more glue onto the tag before adding the top onto it. Again, I do add a clear block for a few minutes while the glue dries.
To add some more dimension, fun foam was added under the background card stock before adhering it onto the card base.
Once again, I pulled out the Birdie Friends stamp set as it has this adorable little chick who appears to be sending a little kiss along with using the Birdie Friends Coordinating die to help me cut it perfectly.
Final touch was adding a little gold bow by using the Twine and Bow die and added one of my favorite sayings "Hugs", again from the Birdie Friends stamp set


This is adorable, love the patterned circles!!
ReplyDeleteSuper cute and fun cards! Love shaker cards! :)
ReplyDeleteSuper cute and fun cards! Love shaker cards! :)
ReplyDeleteWow!
ReplyDeleteGreat cards!
This comment has been removed by the author.
ReplyDeleteYour card so cute and such a happy card <3
ReplyDelete