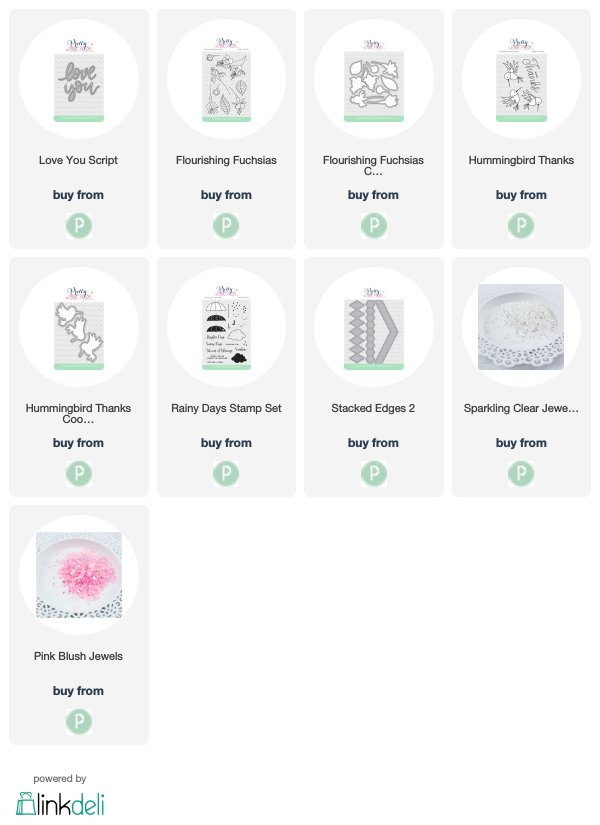
When I saw these Flourishing Fuchsias from Pretty Pink Posh I couldn't resist but to create a special card of sending you love.
To get this card started, I created the background first using an ink blending tool along with some ink from Simon Says Stamp.
Colors from top to bottom: Maliblue, Hollyhock, Duckling, and Green Leaf.
Next, I used the diamond shape border from the Stacked Edges
2 collection to create the quilt panel in the center by cutting several rows and placed them together
onto a piece of card stock. Later, I ran it through the die cut machine using the Stitched Notes die
Once again, I couldn't resist but to use the Hummingbird Thanks set so I stamped one of them to color using my copic markers. After coloring, I used the Coordinating dies to help me cut it out fast.
Here is the list of Copic color combination is:
Wing & Head: RV55, RV02 (head) RV55, RV52, RV02 (Wings)
Body: B06, B02, B00, B000, also the colorless blender to smooth things over and take away color from the center of the body and ends of wings
Flowers: RV55, RV52, RV02 & V09, V06, V04 Leaves: G21, G94, G99
Can you guess what new product I used? It's the word "Love" from the new Love You Script die from Pretty Pink Posh latest release and now available. To add some gloss on top, I used clear embossing powder and repeated the process three times and than embossed the "SENDING YOU" from the Rainy Days Additions using white embossing powder.
To finish this card, I added several jewels
using Pink
Blush and Sparkling
Clear to combine both as I love how they look together.
SUPPLIES:


This is gorgeous! So much talent!!
ReplyDelete